Things you will need:
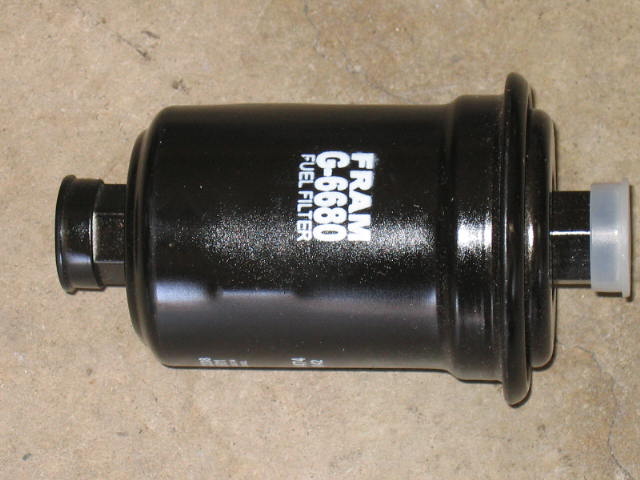
- Fuel Filter (about $19.99)
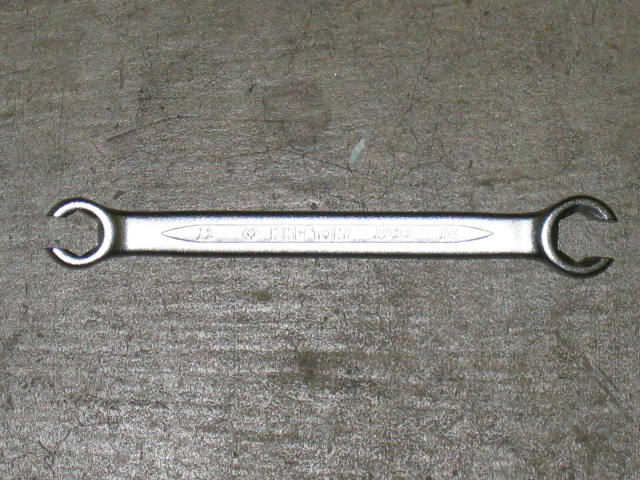
- 19 mm wrench
- 14 mm wrench (Flare Nut Wrench is PREFERRED)
- 10 mm socket
-
- Things to know:
It’s a bear to get to the filter the first couple of times until you get it figured out. You will just have to discover it – no way to tell you how to get that filter out with out spilling fuel, but it can be done (Or so Fitch says, but I always use the water drain to empty most of the fuel from the filter and then still manage to spill some!).
I actually lean/reach in over the front of the truck, almost lying on the engine, so I can get my right hand in there – its more coordinated than my left hand. (Note, if you lean across the battery, cover the top of the battery to protect your clothing from acid and your *um jewels* from an arc welded belt buckle.)The priming pump is on the drivers side rear of the engine down low about right over the top of the starter motor. It has a plunger on top that you push on to pump fuel into the system and purge the air out. If you fill the filter really full, you probably won’t need to mess with this. If you don’t, you will get to learn all about it.
The filter will be tight. Very tight! A flimsy gas engine oil filter wrench will bend without removing the filter. A nylon strap wrench will remove the filter after it crushes the filter can enough to get a good bite.Procedure: (Should be written on a little piece of paper that comes with the filter.)
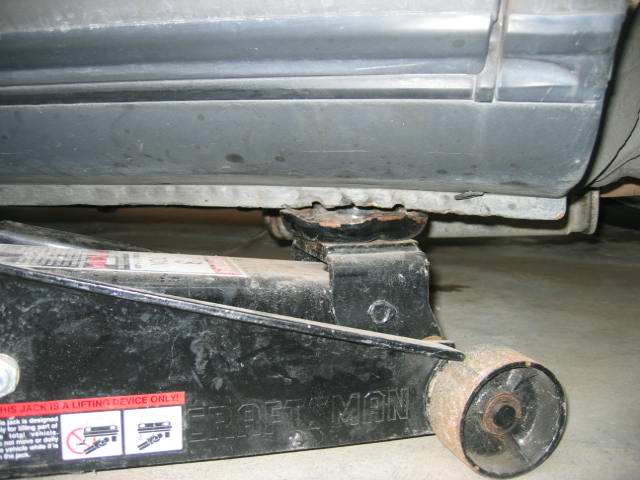
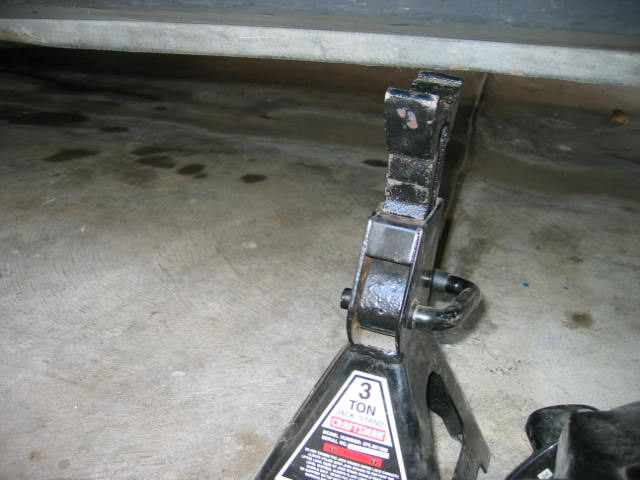
- The best way to attach this task it to jack the car up on the rear driver side with tire chocks in the front tires. Once the car is jacked up, then u should put in a jack stand for safety.

- Things to know:
-
- The next thing is to open up the gas tank cap where u
filler gas every other day. When u open the gas tank
cap, fuel pressure will escape and reduce fuel pressure.
This procedure is essential when the fuel filter is loosen. - The fuel filter is located under the car. Its on
the rear driver side of the car. Its right in front of
the driver side rear tire. There is an aluminum plate
covering it. The plate is held by 5 10 mm nuts.

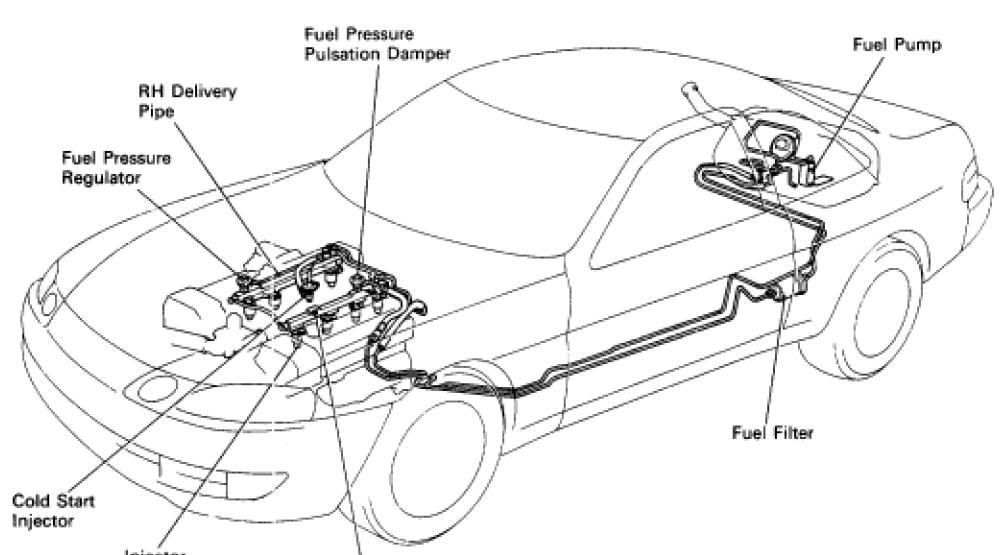
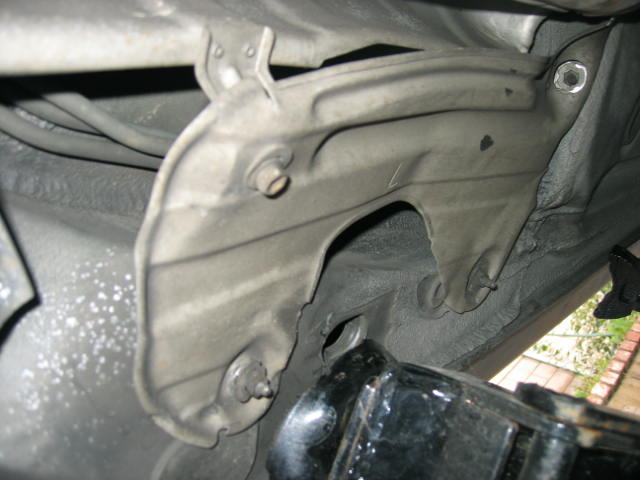
- After the above plate is removed, then you see the fuel
filter. The filter is bolted down by two 10 mm nuts.
Those nuts need to be removed in order to take out the
filter. Once you remove the filter, then will be some
fuel leaking out. Don’t worry it should stop after
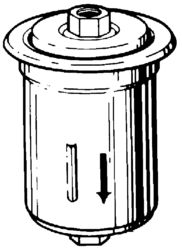
20-30 seconds or so. - Its an inlet fuel filter with one entering and one going
out. Now you will need the 19mm to stabilized the
filter and 14mm to loosen the fuel line. You need to
loosen both inlet and outlet lines. Once the filter is
out, you will need to loosen bracket with a 10 mm. - Now you are ready to install the new fuel filter.
Make sure the ARROW is pointing from the REAR to the FRONT.
Basically the large end is at the rear and small end will be
pointing to the front. Look for the ARROW for
indication. The best way and easiest way is to loosely
screw in the fuel lines first (not tighten), then you will
need to install fuel filter and bracket back with two 10mm.
Tighten the two 10mm then tighten the two 14 mm fuel lines.
- The next thing is to open up the gas tank cap where u
- Before putting the aluminum cover back or lower your car. Start your engine and check for fuel leak. MAKE SURE YOU DON’T SEE ANY FUEL LEAK WHEN YOUR ENGINE IS RUNNING. If there is fuel leak, tighten the 14mm by stabilized the 19 mm from the fuel filter. Make sure everything is ok before putting the cover back or lowering the car.
- Now you are ready to put the cover back.
- The whole task should not take more then 30 minutes. If you take more then that, then you are doing something wrong. Best of luck and have fun.
SC400 I removed the inflow line and drained gas into a drain pan. It never stopped flowing so all I could do was reconnect the inflow line and wonder what I did wrong other than loose a gallon of gas.
A 1999 is on passenger side front of rear wheel and it’s far more than 1/8 of a gallon flowing it’s non stop and the nut on in side is 19 mm however it has to be a thin because of the flat part on top of it. Facts I am dealing with it right now