When I got my 1990 Lexus LS400 aka Toyota Celsior few years ago, the first thing that went wrong with my car was the Air Suspension Shocks. Like most car buyers, you find out what not to buy only after you brought it.
Well, I got a LS400 with Air Suspension Shocks. The first thing that I noticed something was wrong is that the front of my car lowered so much that my fender almost touching the tire.
After I started the engine and everything was fine. This problem normal happen in the morning.
Why? well, the car seat over night the air suspension leak air and loose its compression. Once the engine started, the air suspension sensor detect the problem and pump more air into the AS shocks to normalized the height.
I do have some used and in good working condition Air Suspension Shocks if you are interested.
I drove around for a while even the car dropped so much even with the air pump working, my car still not at its normal height. What is worst is that only one shock was bad and it looks so bad. If all shocks are bad, then the car would look cool. unfortunately , this is not the case. After I detected the problem, I called around local junk yards and search for a used shock. Some place was asking for $450 each.
However, used air suspension shock would not last for too long because most AS shocks would go bad after 12-14 years of life. I decided to purchase a new shock from a local Lexus dealer. The cost was $960 and that was with a discount. The retail for the Lexus Air Suspension shock is $1,150 each. Ouch!
Currently, my other 3 shocks are about to go south. I am not going to replace all of them. The cost is just too much for the 14 years old car. To replace all four air suspension shock would run over $4,000 and my car only worth about $5,000. This does not make sense does it? I wanted to end this problem forever.
Front Strut Installation:
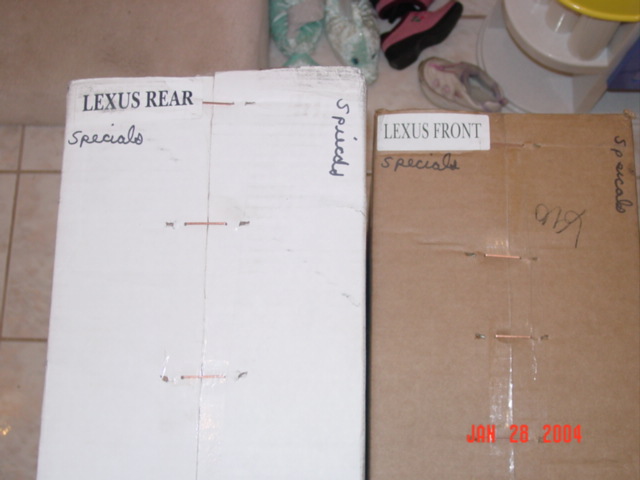
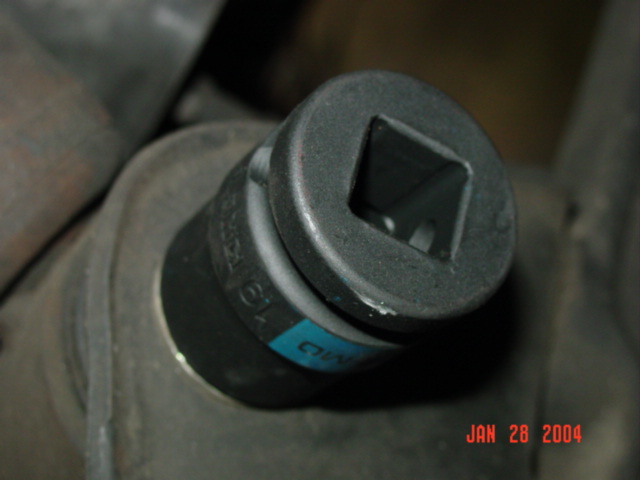
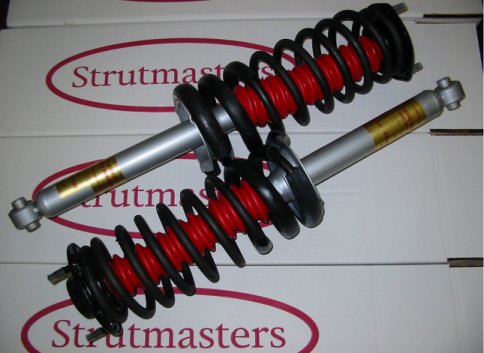
When I received the two huge packages today and immediately I opened and a BIG SMILE on my face. The packages arrive as promised. To start, you must turn off your Air Suspension system. The switch is in the rear trunk in the emergency tool box. Secondly, I also recommend that you should disconnect the battery for safety. To attack this task, do one shock at a time. If you are not mechanical incline or you do not have the proper tools, then you should hand your keys to the professionals. I would estimate the cost would be around $200-250 for this project. However, I would like to save some money and I am pretty handy therefore I did it myself. You must jack up the car and put in a jack stand under the car. Unbolt the wheel with a 21mm socket. There are 2 sets of 14 mm bolts on top of the Air Suspension. Unbolt the upper 3 bolts first, then disconnect the wire clip. Proceed to loosen the lower set of bolts. Loosen, but not completely unbolt.
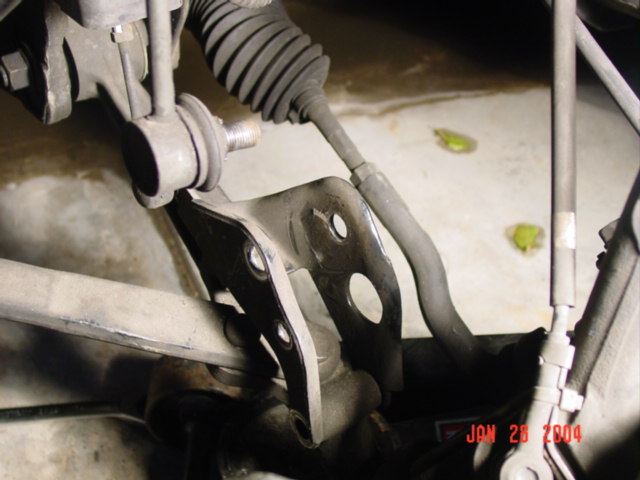
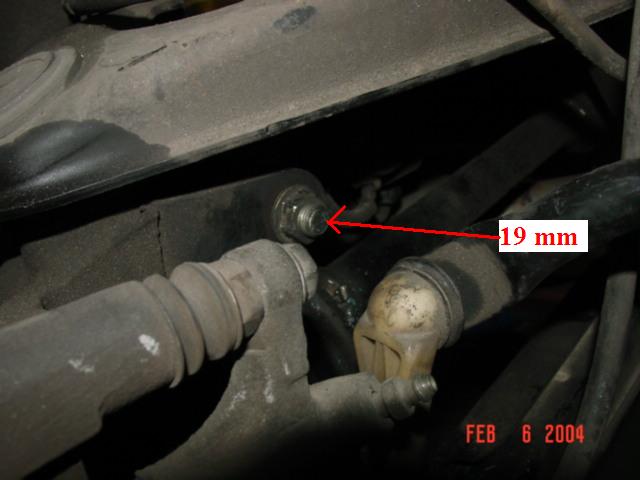
There three bolts you have to take out in the bottom portion.
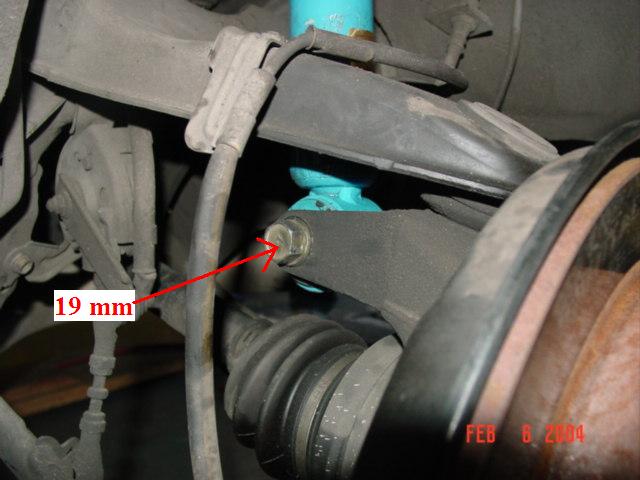
1. Lower Strut Bolt: 19 mm, you will another 19 mm on the other side to stabilize the bolt.
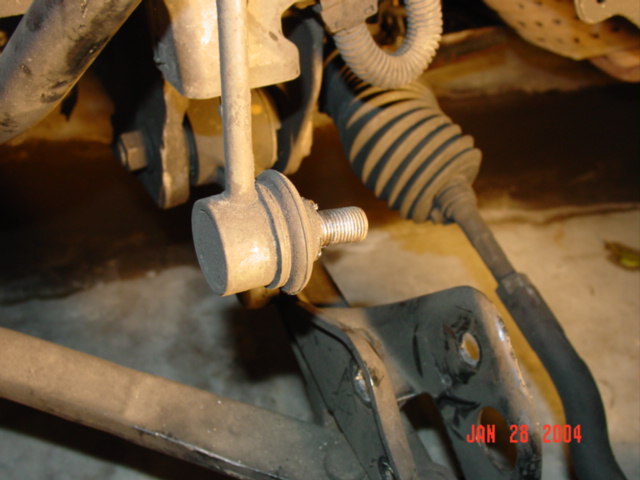
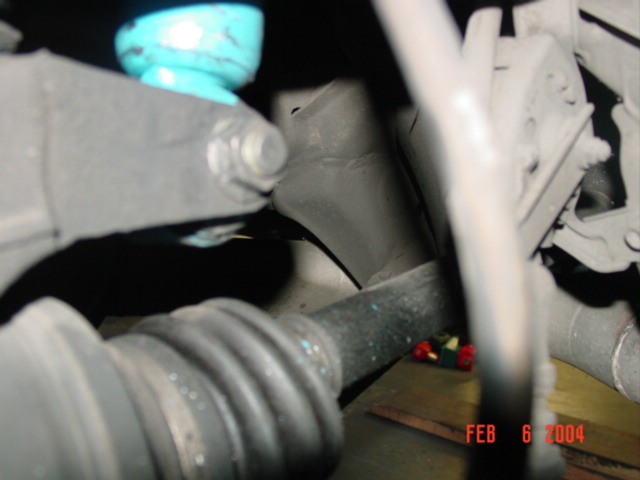
2. Swap Bar Bolt: 17 mm – This bolt will loosen the whole suspension arm
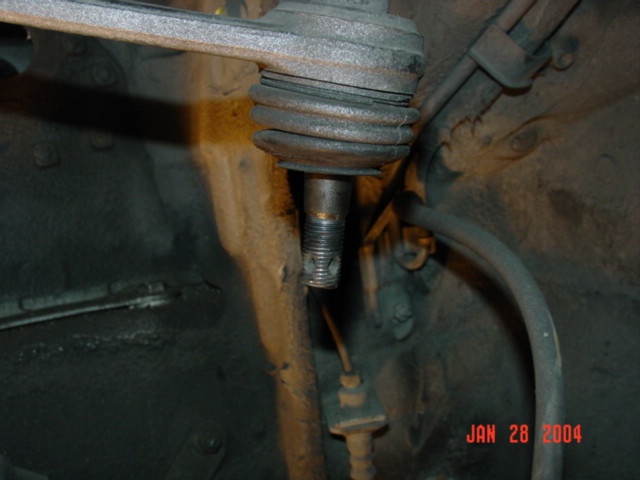
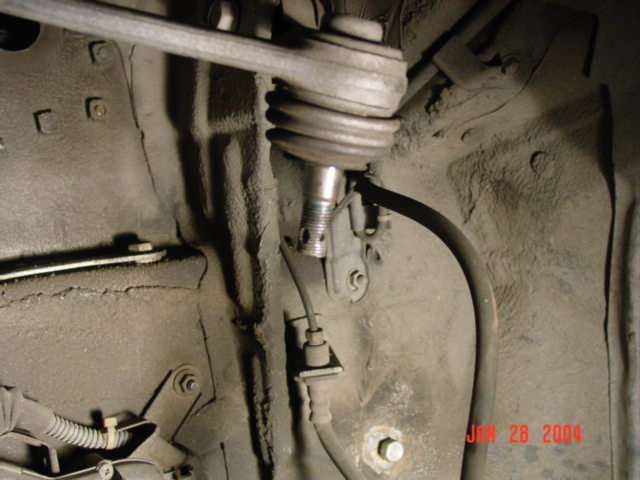
3. Upper Control Arm Bolt: 17 mm lock nut with pin lock – This bolt will allow you to take out the strut.
After all the bottom bolts are loose, then you can completely unbolt the upper bolts. The installation would be the reverse procedures.
NOTE: The Upper Control Arm (UCA) Bolt will be the hardest to loosen. Not the bolt, but the stud gets stuck and a hammer will be helpful. Hammer the portion that connected to the UCA back and forward few times. With proper tools, it will take you about 30 minute per strut. Here is a detail pdf file on the front Suspension and detail instruction from Lexus on complete front suspension assembly. DO NOT HAMMER THE UPPER CONTROL STUD. DO NOT STRIP IT!

|
|
|
|||||||||||||||||||||||||||
|
|
|
|||||||||||||||||||||||||||
|
|
|
|||||||||||||||||||||||||||
|
|
||||||||||||||||||||||||||||
Rear Strut Installation:
The rear is slightly complex due to the rear seat. However, its not impossible. Here are the procedure of changing the rear struts:
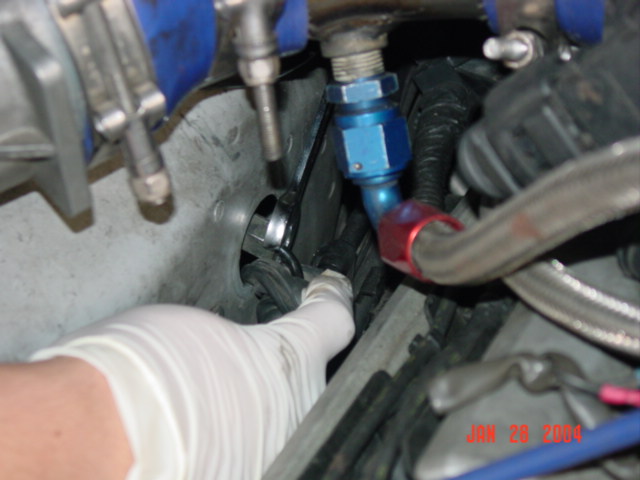
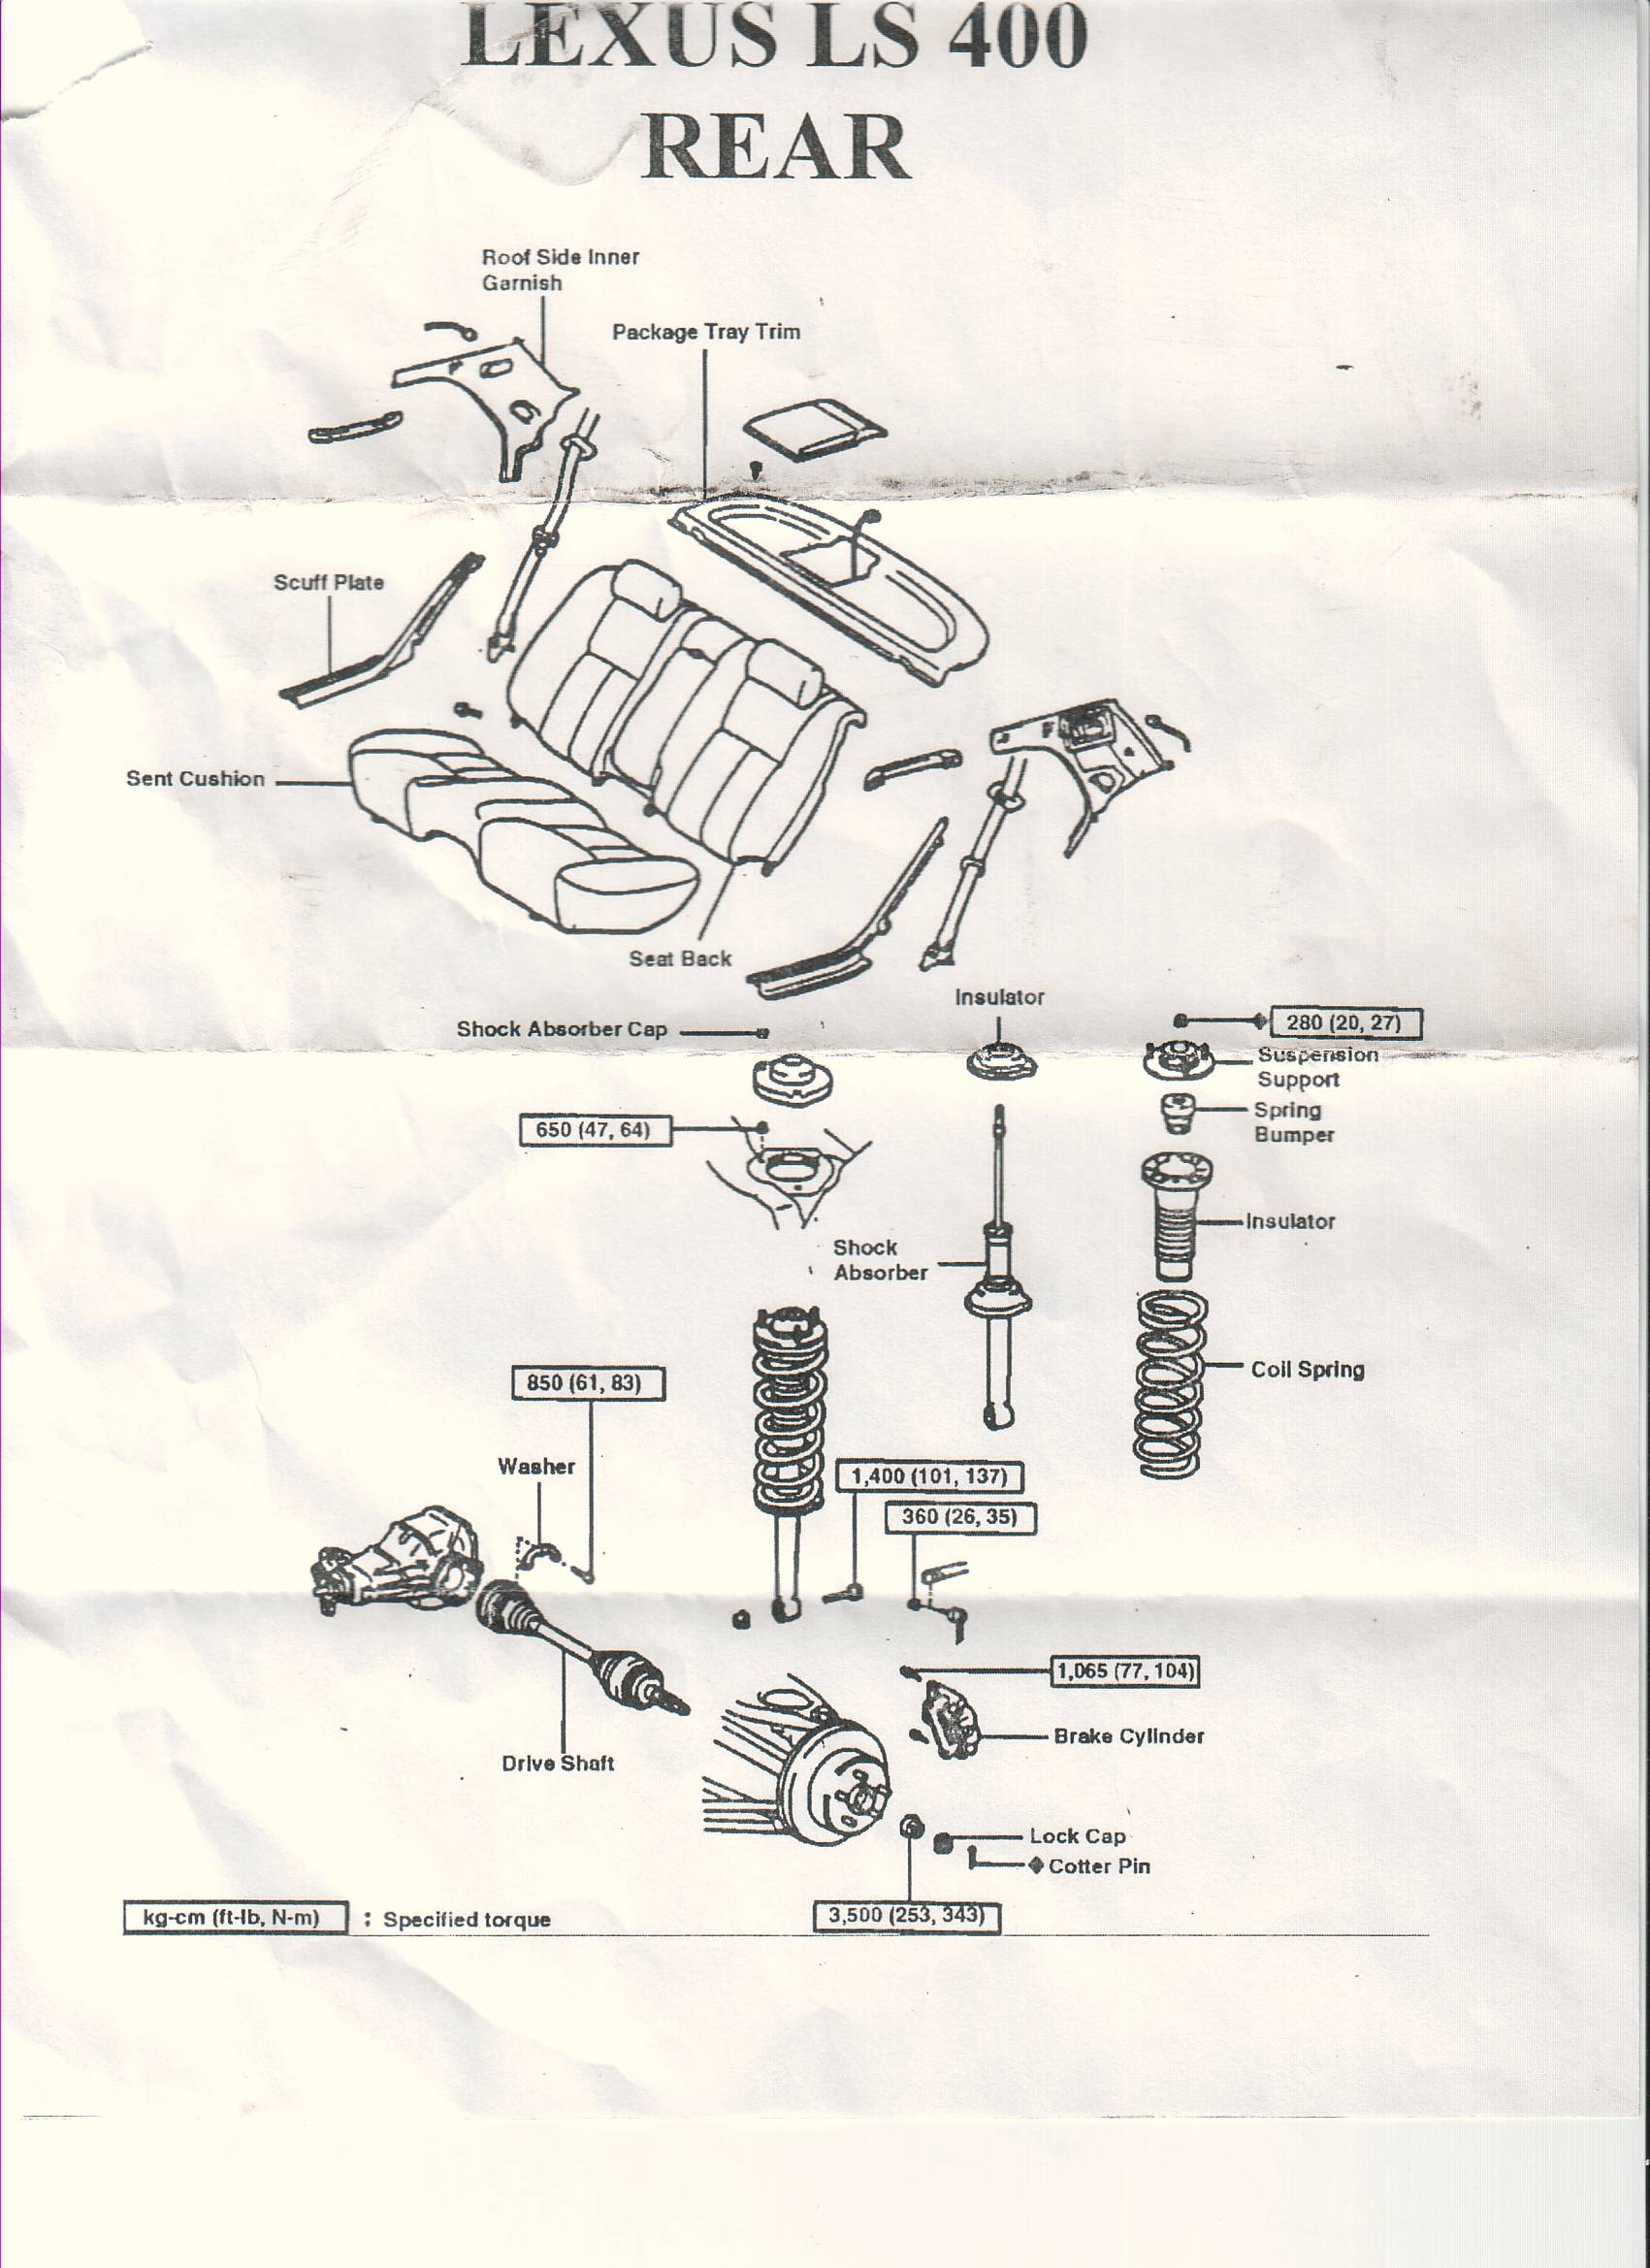
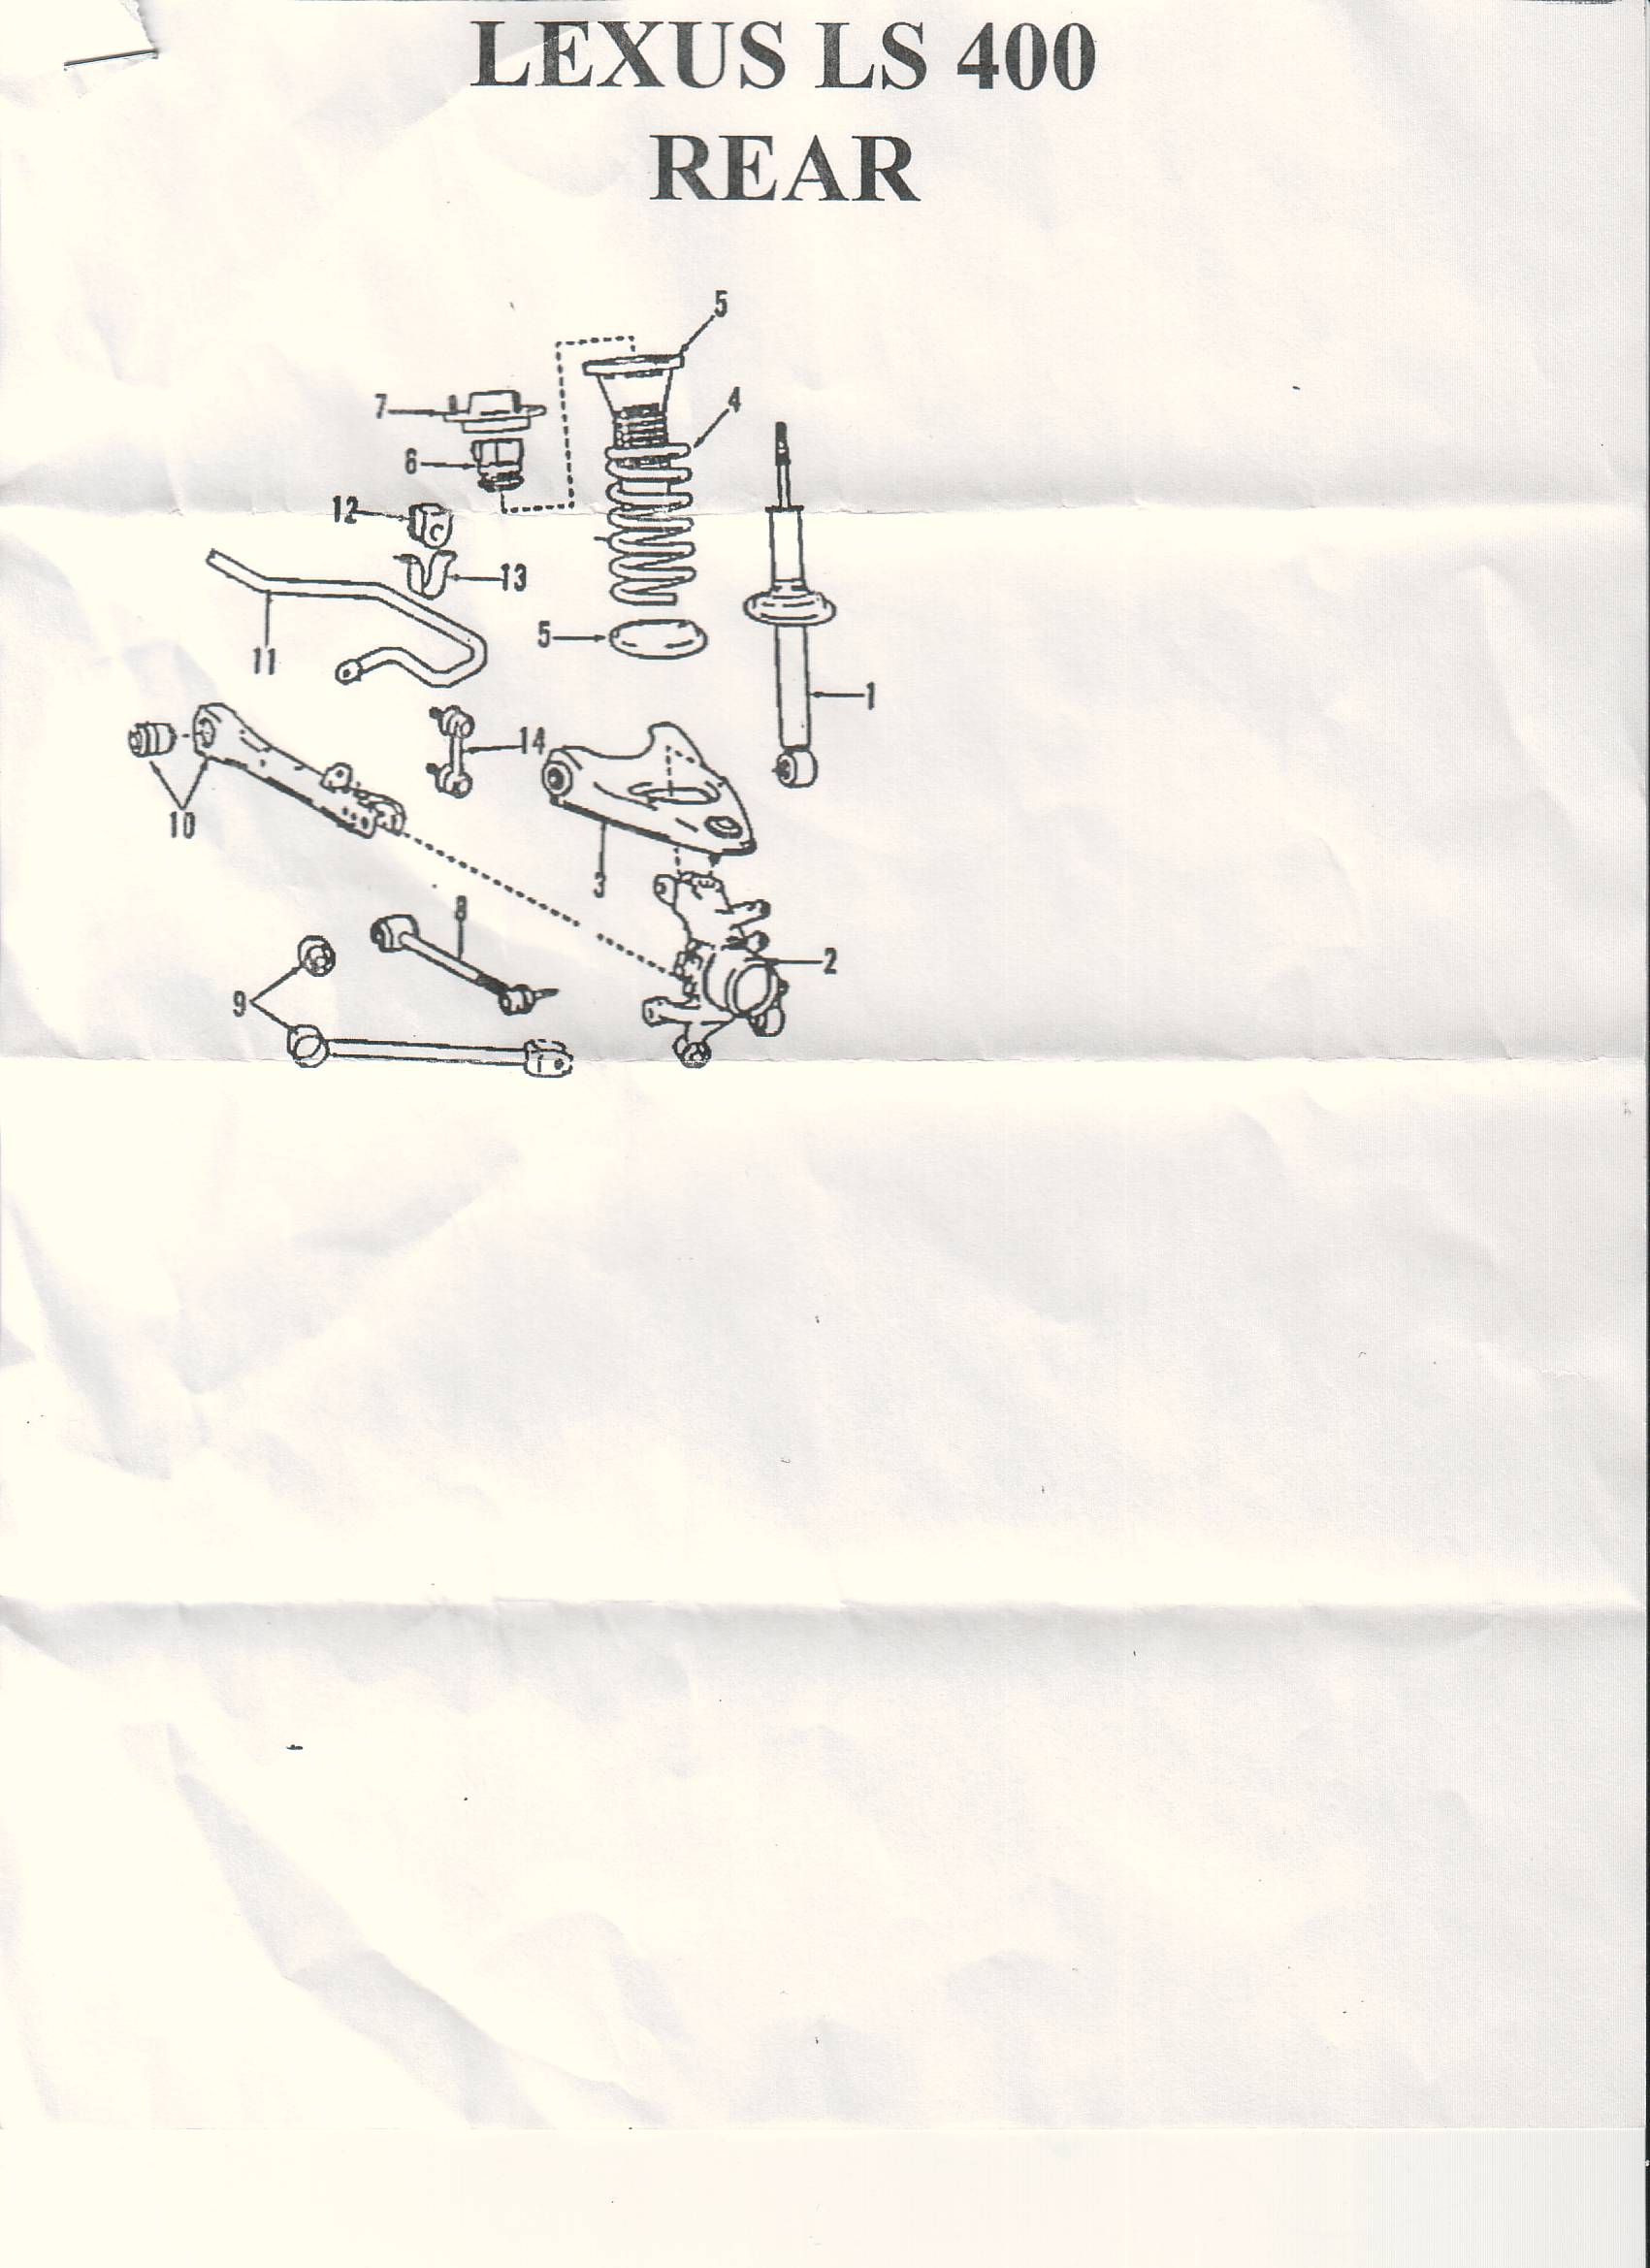
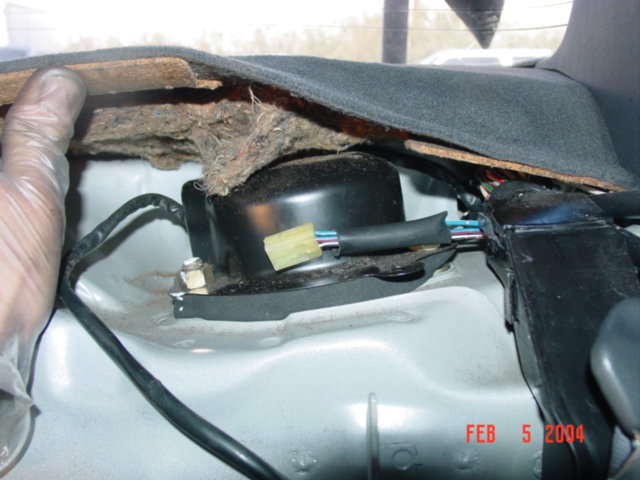
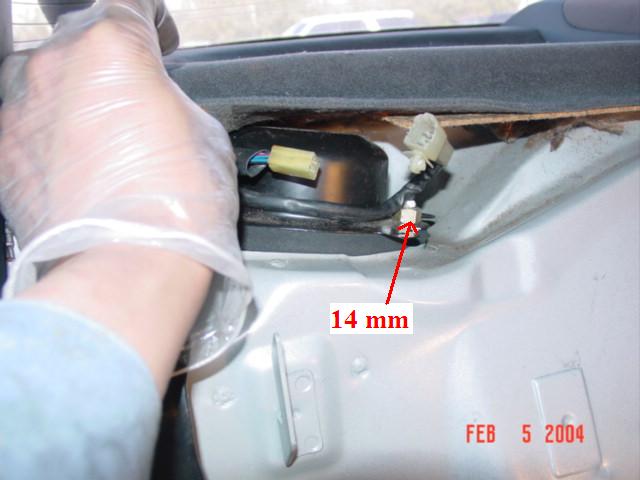
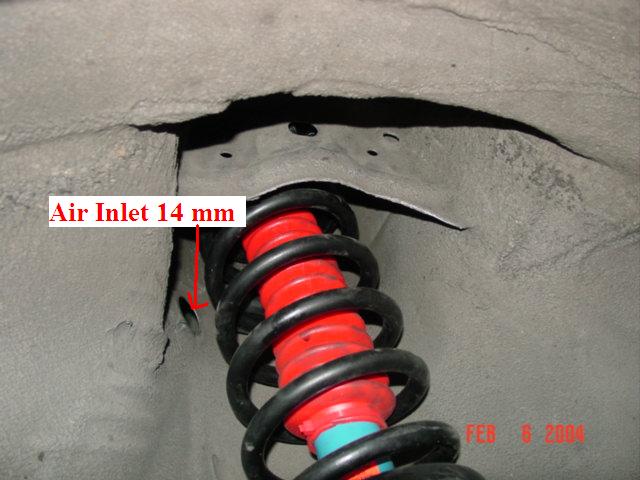
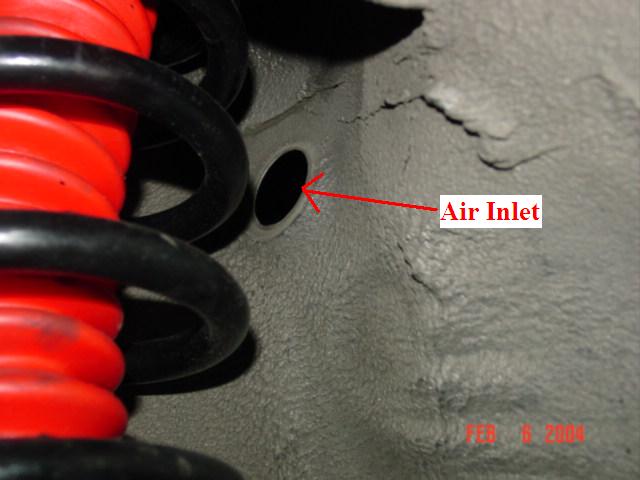
1) Raise and support vehicle. Remove rear seat cushion and rear seat back. Please see Upgrade Fuel Pump for rear seat removal instruction. Remove right and left scuff plates. Remove right and left roof side inner garnishes. Remove package trim. 2) Disconnect right and left stabilizer bar links from stabilizer bar. Remove 2 brake caliper bolts from rear axle carrier. Hang caliper with wire. Remove nut on lower side of shock absorber. Support rear axle carrier with jack. Remove dust cap on top of strut. 3) Loosen strut rod center nut (do not remove nut). Remove 3 suspension support retaining nuts. Lower rear axle carrier and remove lower shock absorber. 4) For Air Suspension Equipped LS400. You need to remove the in air inlet line. Its almost impossible to loosen the 14 mm bolt from the bottom. The easiest way to remove this bolt is from the trunk. Open the trunk and on both left and right side of trunk is where you can access the air inlet. Remove strut assembly.
|
|
|
|||||||||||||||||||||||||||
|
|
|
|||||||||||||||||||||||||||
|
|
|
|||||||||||||||||||||||||||
|
|
||||||||||||||||||||||||||||
Installation
1) Install strut assembly on vehicle. Tighten 3 mounting nuts to specification. Install shock absorber cap. Tighten lower strut-to-axle carrier bolt to specification. Tighten upper strut center nut to specification. 2) Install brake caliper, tighten mounting bolt to specification. Connect right and left stabilizer bar links. To complete installation, reverse removal procedure. Check wheel alignment.
Here are some preview of the rear suspension complete rear suspension assembly and Front Suspension Axial
Review & Comments:
I think this is best thing ever happened to the LS400 for air suspension replacement part, second would be the LCD Display Replacement. I have installed an Air Suspension Replacement with 1.5″ lower option. My current tire/rim set up is 235/40/18 and the tire diameter is slightly smaller than stock.
| Rim Size | Tire Size | Brand | Diameter | Ride Height Struts Replacement |
| 15″ | 205/65/15 | Stock | 25.5†| 26.47″ |
| 18″ | 235/50/18 | BFG | 27.2†| 28.17″ |
| 18″ | 235/45/18 | BFG | 26.57 | 27.54″ |
| 18″ | 235/40/18 | BFG | 25.28 | 26.25″ |
| 20″ | 225/35/20 | Nitto | 26.22†| 27.19″ |
| 20″ | 245/35/20 | Nitto | 26.69†| 27.66 |
If you plan to upgrade your tires/rims I do not recommend the tire diameter more than 27.2″. This goes with any struts/springs upgrade. Even with 20″ rims, try to stay under 27″ total tire diameter. With my setup is slightly firmer than stock replacement, but the ride quality still hasn’t change. I still experience the luxury aspect of Lexus and enjoy faster, sharper turns with an aggressive stand. Not only that, I don’t have worry about my shocks being bad ever again.
I highly recommend this product if you are tired of paying BIG bucks on those new Air Suspension shocks or taking a chance on those used shocks listed in Ebay or car forums. This investment is less than one new oem shock and it will out last your engine life. Here are pictures of the finished product with 235/40/18:
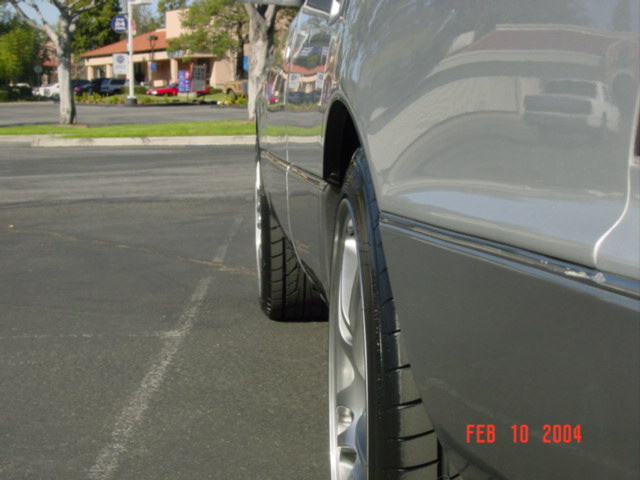
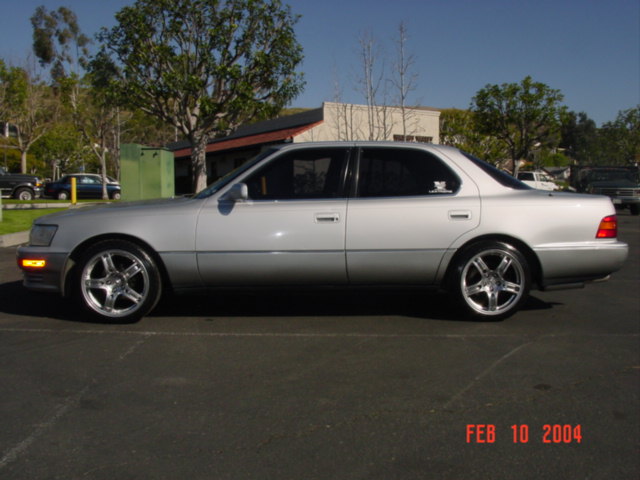
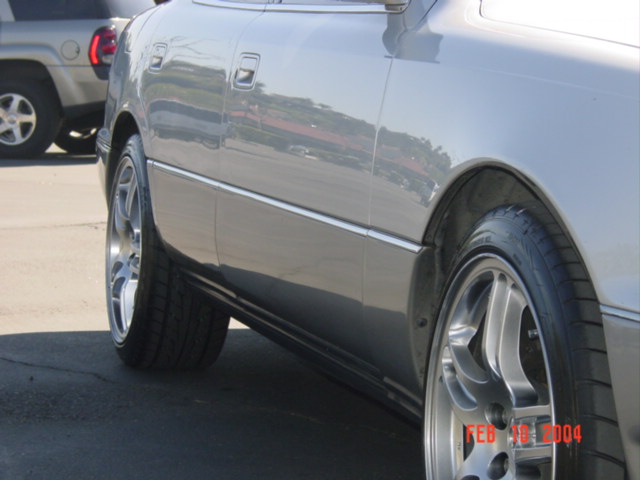
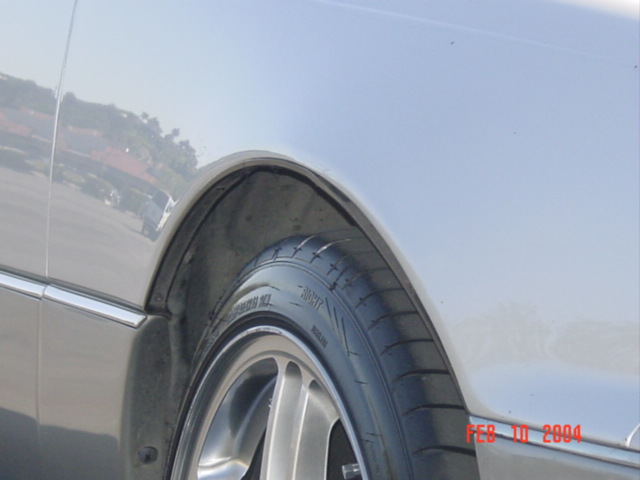
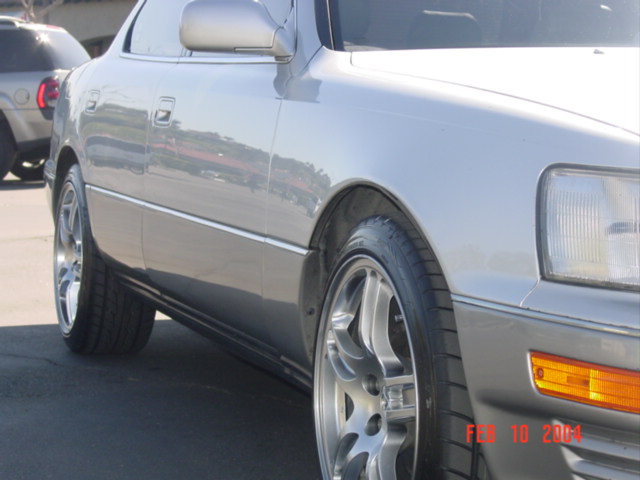
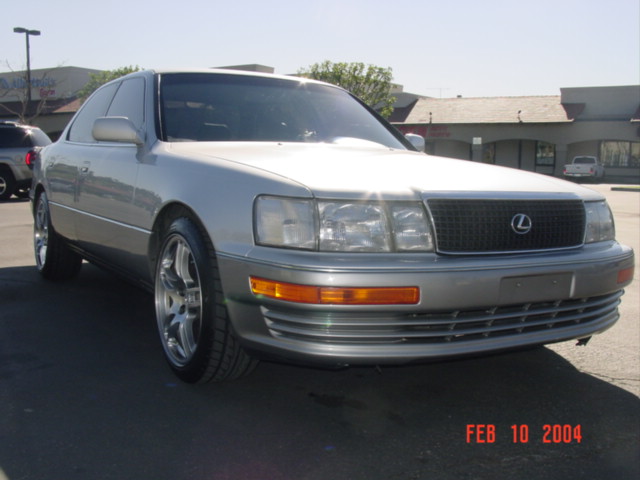
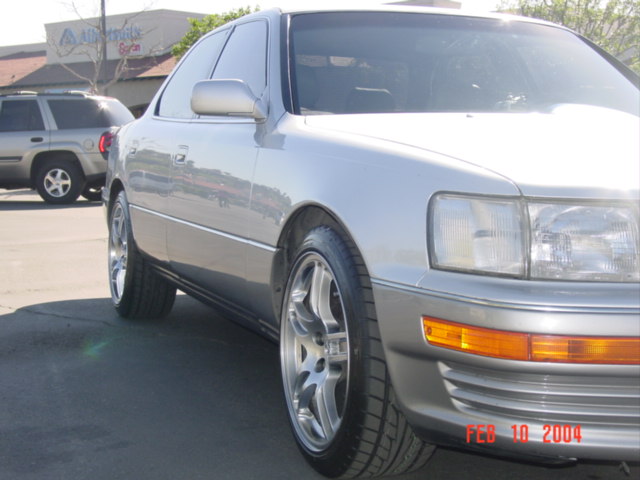
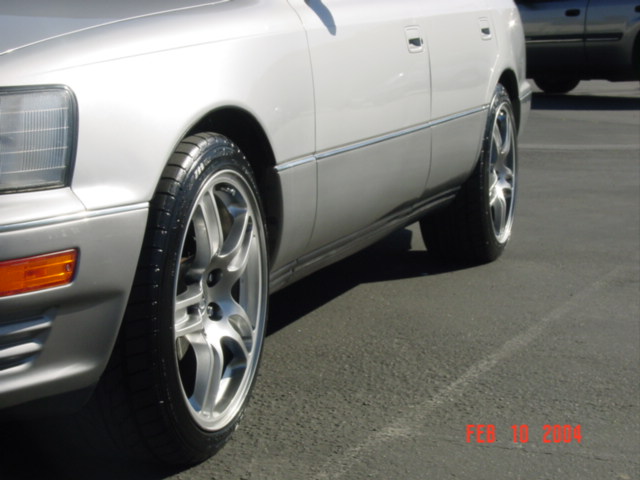
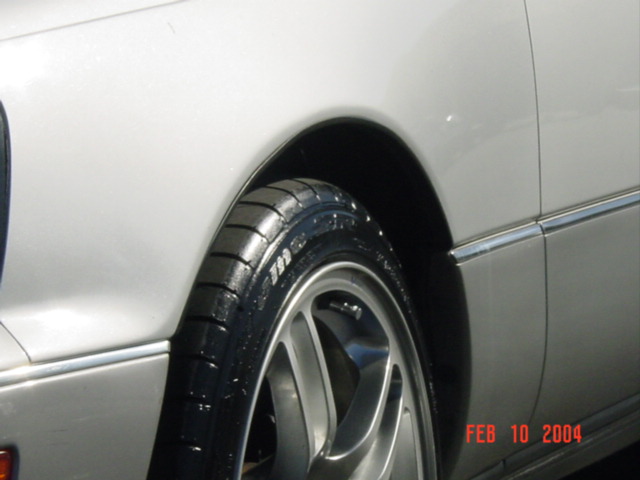
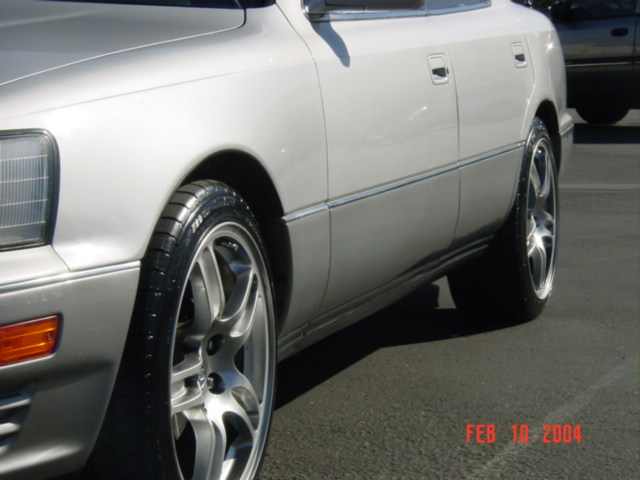
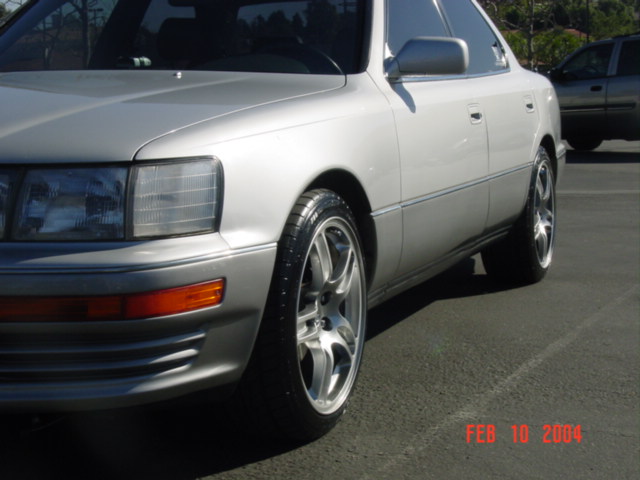
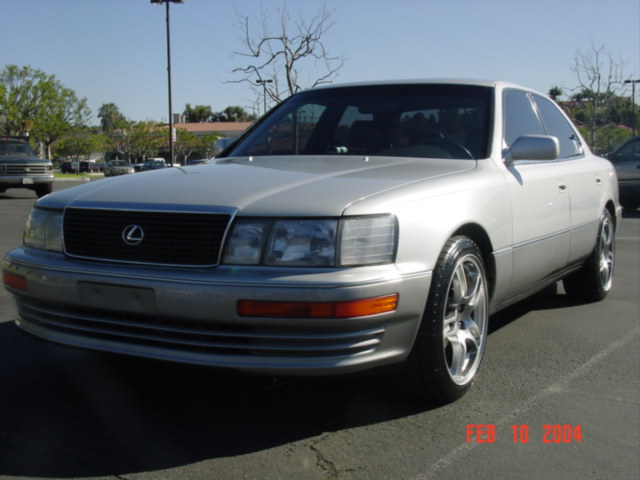
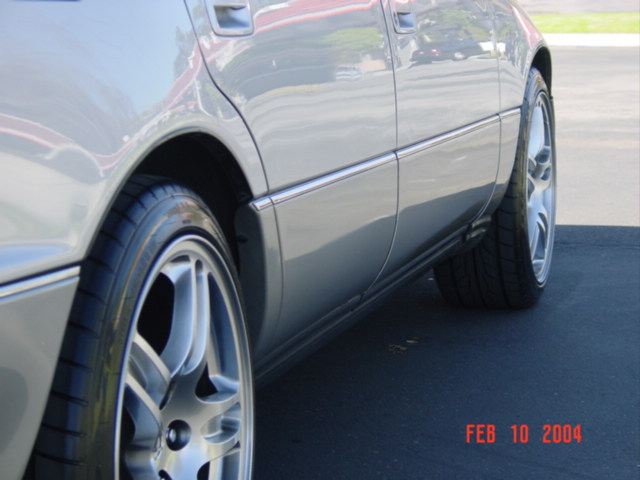
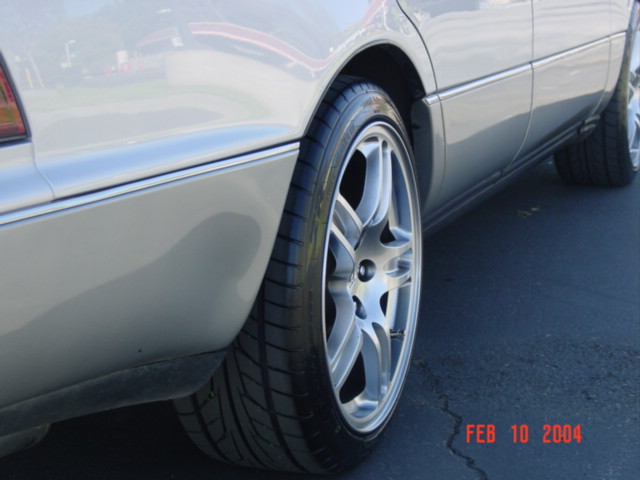
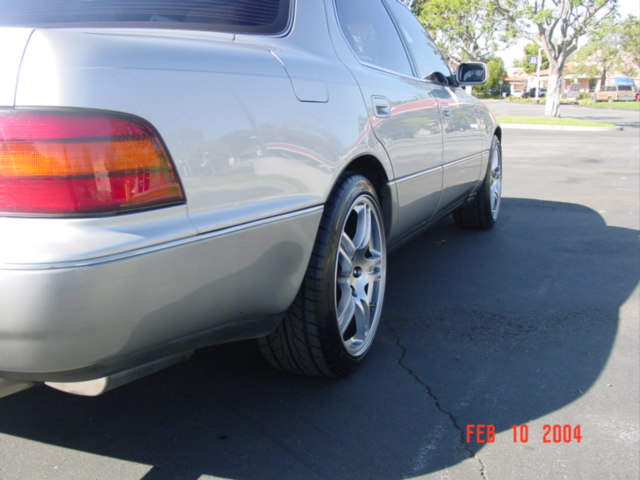
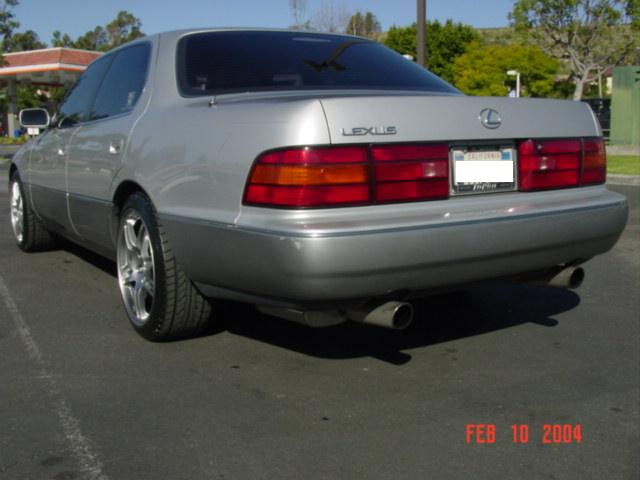

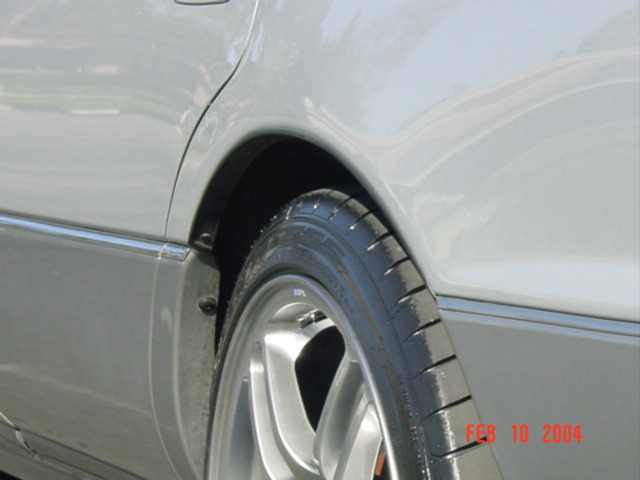
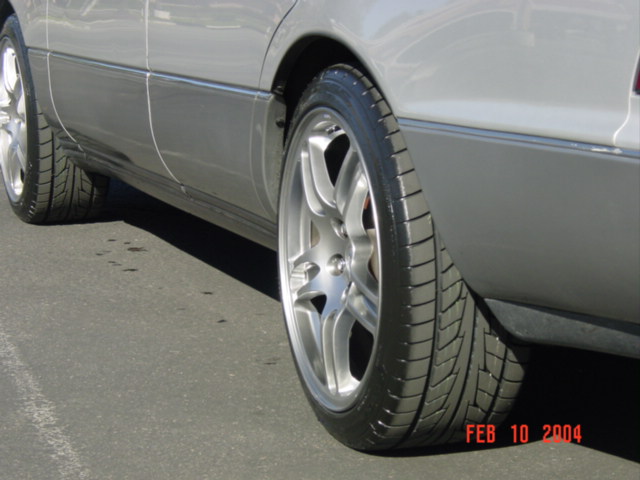
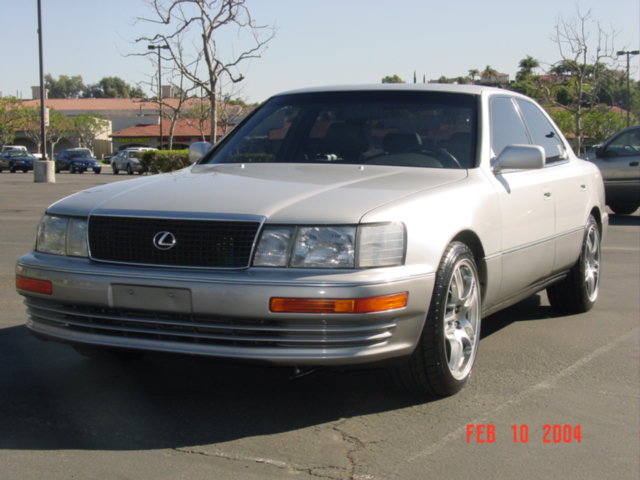
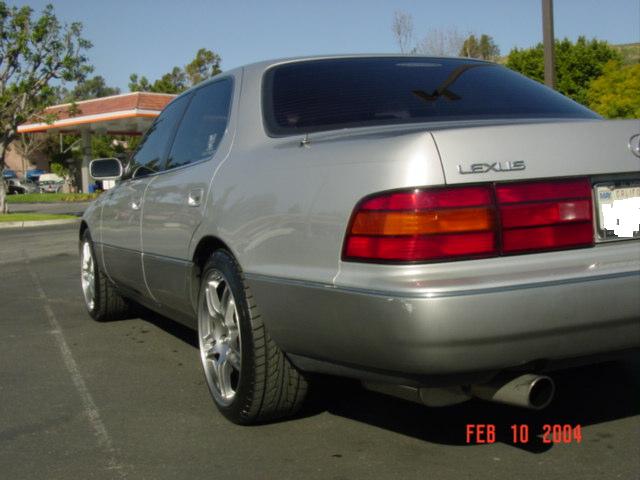
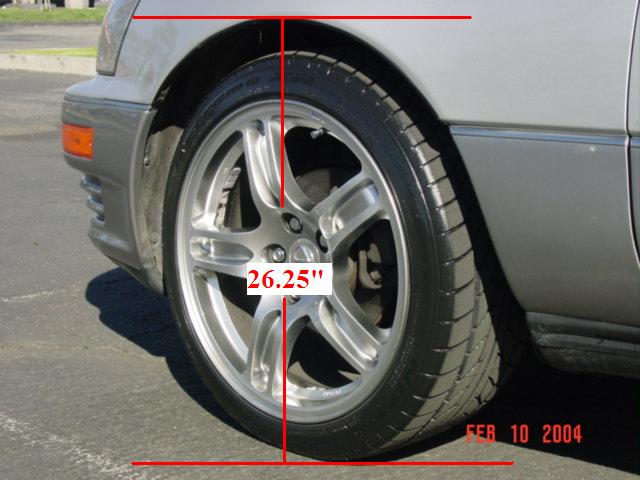
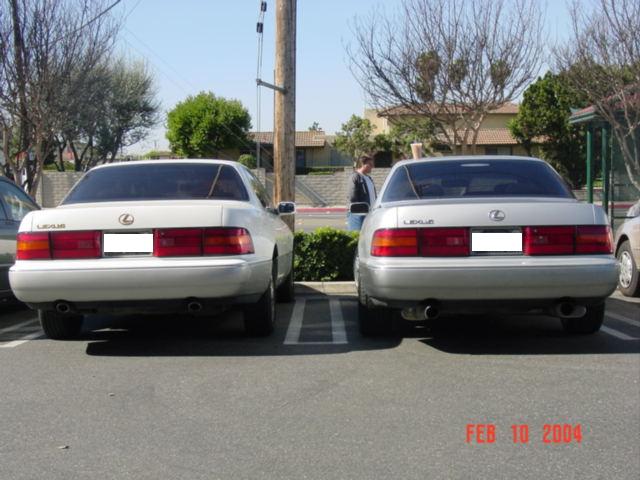
The last picture is comparing the two 1990 LS400 side by side. The white LS400 on the left is a stock height with standard struts, my car on the right is with Strutmaster Air Suspension Conversion. Its about 1.5″ lowered. After all four struts had a chance do sag for few days. The final ride height with 235/40/18 with 25.28″ tire diameter is 26.25″. Stock tire will stand about .25″ higher, which is going to be 26.47″. The ride height is measure from the ground to the edge of the fender, please see picture above for reference. The blue italic tire sizes are my recommendation for lowering your car without rubbing. Once again the maximum tire diameter for lowered LS400 is 27.2″. DO NOT USE TIRE DIAMETER MORE THAN 27″, otherwise rubbing will be an issue. Good luck and enjoy!
If you like to order it now, Please visit Air Suspension Purchase
I’m interested in the 5 oem air shocks for the 1991 Lexus ls400. Call me at 956-655-0998 so we can talk about the condition and possibly any advice you can give me. I would truly appreciate it thanks.