remains. If you own a 1UZ from 1990-1997, you
for help with ordering or questions. This will probably be the last kits I have made.
All other parts are SOLD OUT and won't return, including the LS400 and SC400 turbo kit, rebuild kits, supercharger and performace torque converter. We're not an auto parts supplier and I can't respond to inquries for random Lexus and Toyota auto parts.
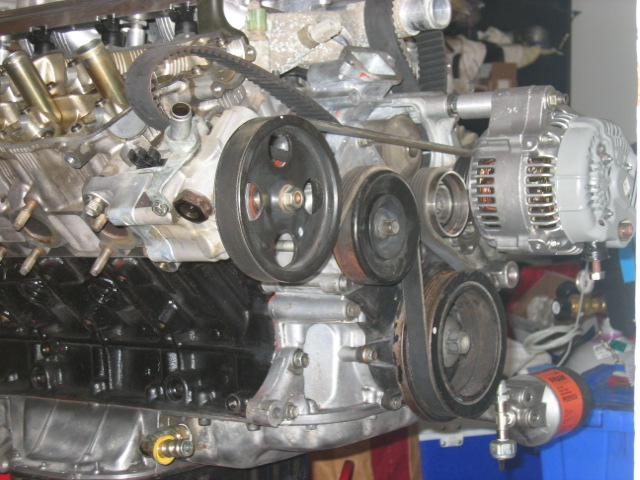
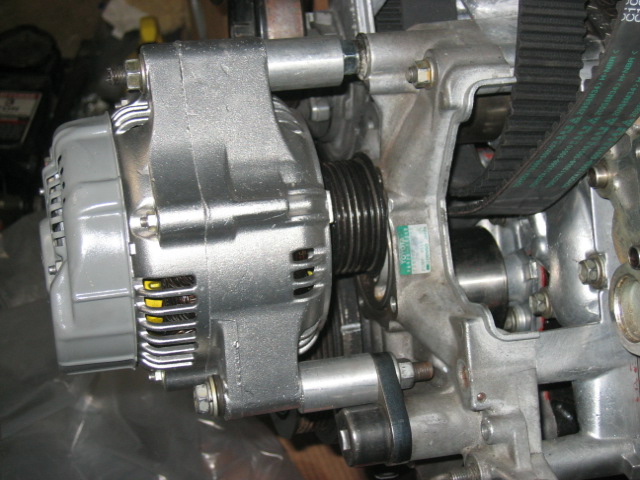
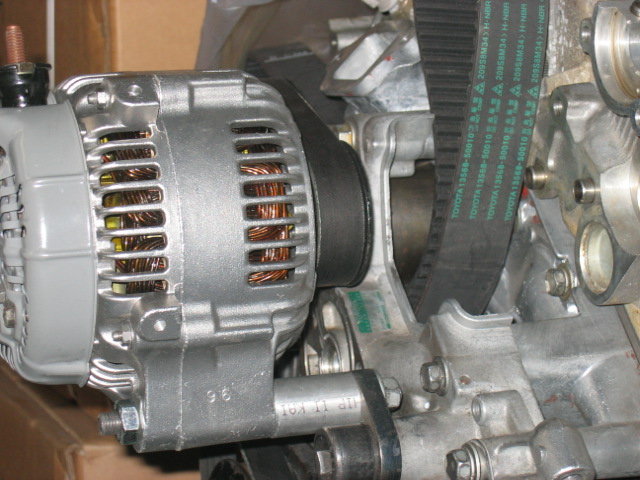
All Lexus and Toyota V8 engines mount their alternator on the front-right side of the car. Its located opposite of the air conditioner compressor. Its a great location however, due to the location it also taking lots of punishment from the power steering pump. The alternator is mount directly under the power steering pump. This is one of the most common for the Lexus and Toyota V8 alternator.
Any leakage from the powers steering, the alternator will suffer and short out the electrical components. The second reason for relocation would be a turbo application. The A/C compressor and the alternator sit right under the V configuration. If you eliminate both accessories then you will have plenty of room.
I relocated the alternator because I wanted more room for my Twin Turbo SC4700TT. The relocation is relatively simple. There are few ways you can relocate the alternator. One of the ways I used was reversing the mounting position. The alternator is not directional, this means that as long as it rotates, it will generate an electrical charge to the battery.
Since my TT project is for an SC400 bodied car, I then utilized the hydraulic pump bracket to stabilize the alternator. If you decide to use the hydraulic housing to stabilize the alternator, there are two ways you can mount the alternator. These are regular position or upside-down. The way you choose will vary with each application. In my application I find it more room for turbo (left side) if I mount the alternator upside-down. Let me breakdown the two mounting positions and requirements:
Up Right Mounting:
For up right mounting the alternator will sit about 2″ lower than the upside-down position. The first thing you need to do is convert the hydraulic fan to an electrical fan or fans. This completely eliminates the hydraulic fan.
Secondly, you also need to eliminate the hydraulic pump pulley and other accessory connections. After you have done this, you need to find a used timing tensioner pulley and machine it slightly (1/8″ from back).
Parts you need to make this modification:
· Removal of hydraulic pulley
· Buy a custom reverse alternator adaptor (please contact me)
· Modify a used timing belt pulley tensioner
· 3 spacers
· 6 Rib belt (K06062)
· One 20 mm Allen bolt
· Modify top pulley bolt to a fully threaded rod.
· Remove the top pulley
· Misc. bolts
|
|
 |
|
|
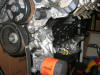
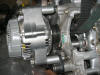
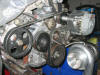
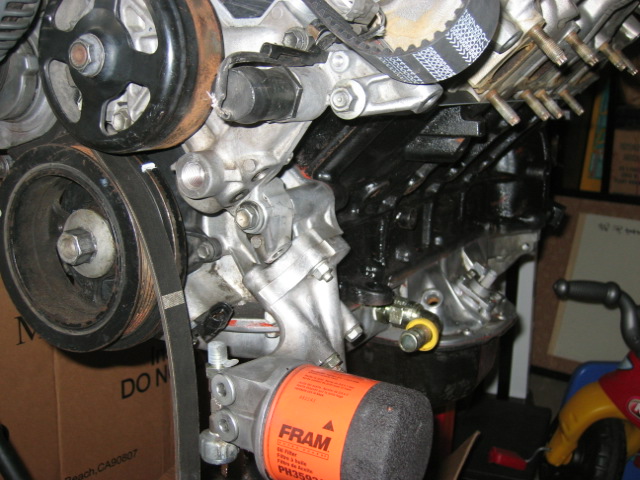
| Here is a picture of the stock hydraulic fan pump. Its about the crank pulley. |
|
|
|
|
|
 |
|
|
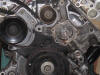
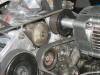
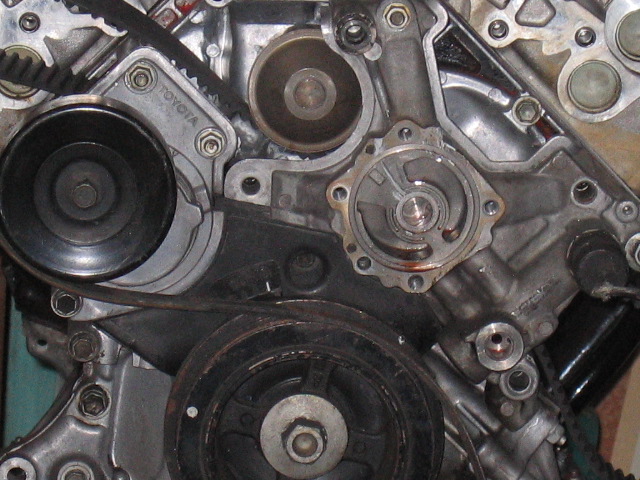
| The hydraulic fan pulley and pump removed. Only the bracket is intact. |
|
|
|
|
|
 |
|
|
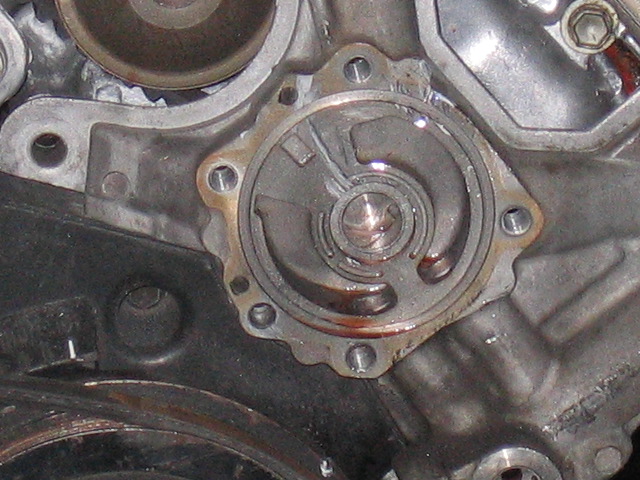
| A closer look into the bracket with pulley removed. |
|
|
|
|
|
 |
|
|
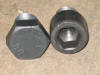
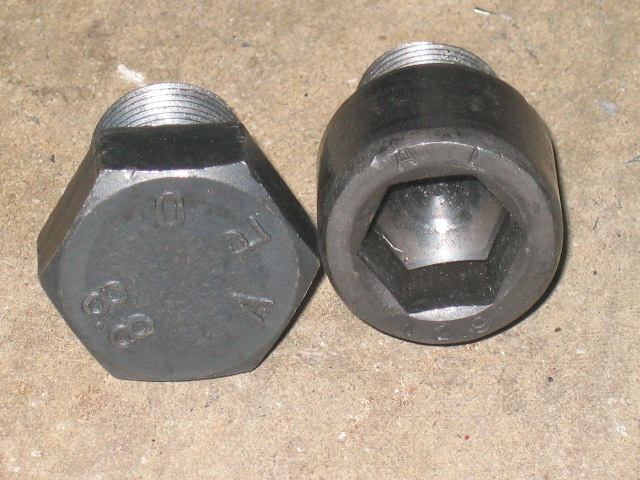
| Here are the 20 mm bolts. Best would be using an Allen style bolt. |
|
|
|
|
|
 |
|
|
| Here is a custom made bracket for alternator relocation. Its laser cut with precision. |
|
|
|
|
|
 |
|
|
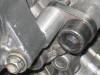
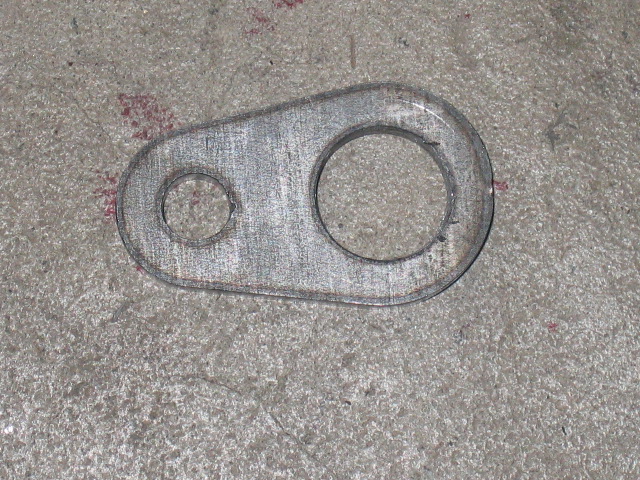
| The large hole on the adaptor bracket goes the hydraulic pressure sensor and the other hole amount the alternator. |
|
|
|
|
|
 |
|
|
| A closer look into the adaptor bracket with 20 mm Allen bolt. |
|
|
|
|
|
 |
|
|
| You will need two 1.5″ spacers for the alternator. |
|
|
|
|
|
 |
|
|
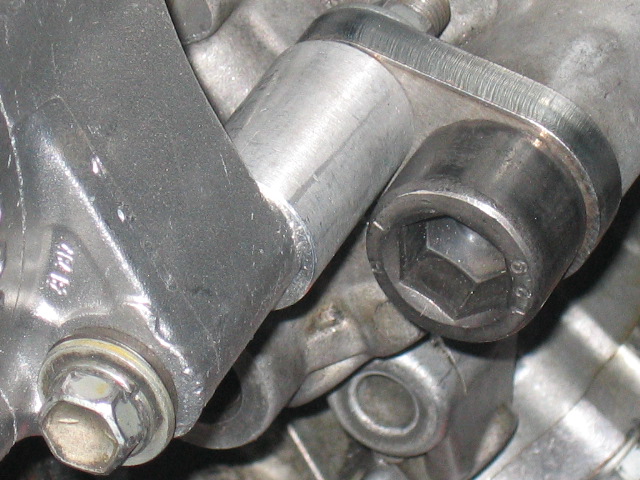
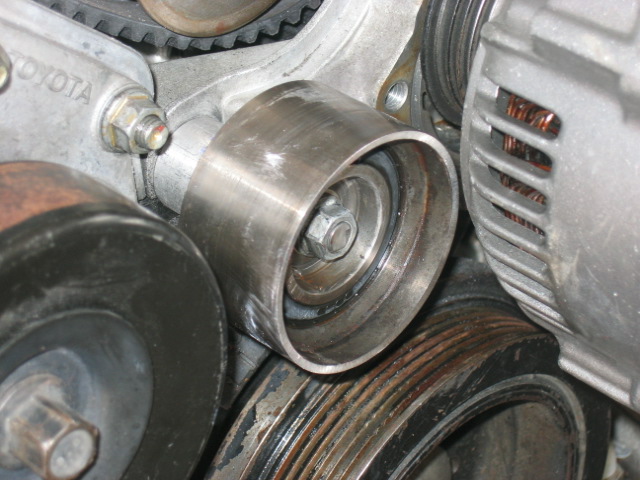
| Here is a modified timing tensioner pulley. |
|
|
|
|
|
 |
|
|
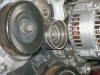
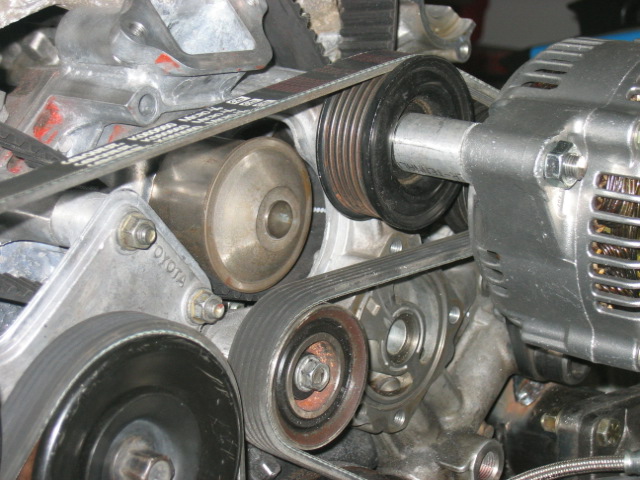
| The pulley is in place and ready to install the new 6 rib belt. |
|
|
|
|
|
 |
|
|
| Belt length 62″ Part number (Gates Micro V) K060620 |
|
|
|
|
|
 |
|
|
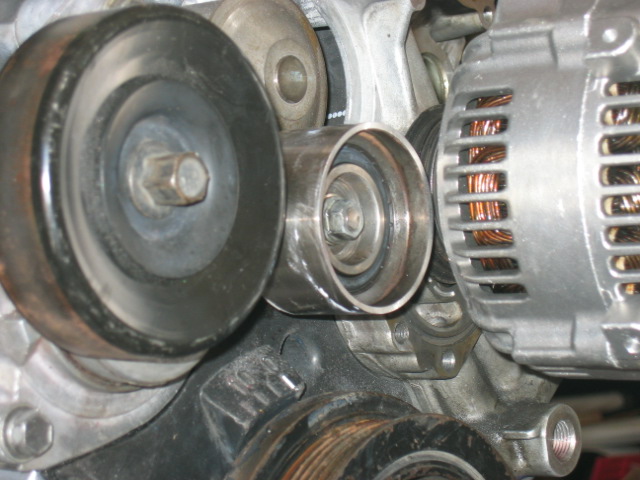
| A closer look at the belt and othe parts. |
|
|
|
|
|
|
|
|
Upside Down Mounting:
The procedure of making this version is almost same as the above. However, if you have doubt about which version you try first. This is definitely the first you have to try. This method the alternator will sit about 2″ higher then the previous version. One nice think about this version is that you don’t have to modify the hydraulic pulley at all.
You can leave it the way it is. However, you need to install a fully threaded 10 mm 1.25 pitch rod into the water pump where the top pulley uses. Basically you are putting back the top pulley with a spacer.
Now you can flip the alternator upside down and the belt will re-route over the top pulley. This method is what I am using for my TT project. The method allow greater room under the alternator for turbo.
|
|
 |
|
|
| Here is the new mounting position. Its higher and spare the hydraulic pulley. |
|
|
|
|
|
 |
|
|
| The alternator cable mount will be on top and the stock top pulley is required. |
|
|
|
|
|
 |
|
|
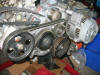
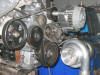
| Here is a picture of the upside down mounting. Notice the alternator is sitting higher now. |
|
|
|
|
|
 |
|
|
| Belt length 66″ Part number (Gates Micro V) K060660 |
|
|
|
|
|
 |
|
|
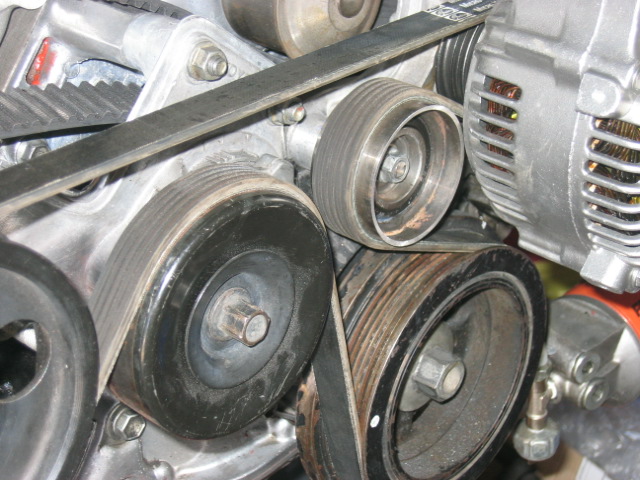
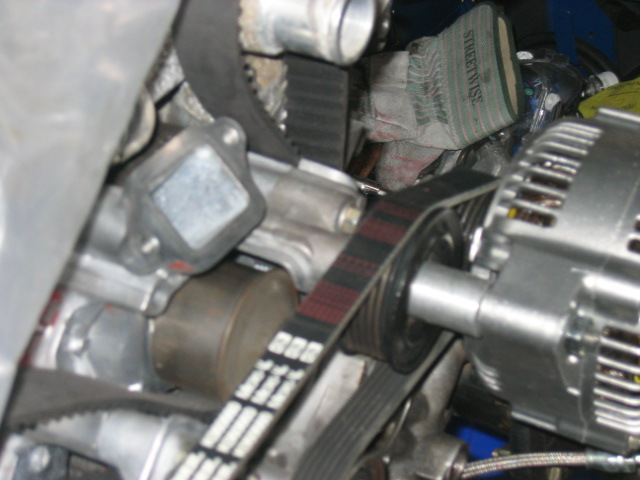
| The belt traveling above the oem pulley. Just like stock configuration. |
|
|
|
|
|
 |
|
|
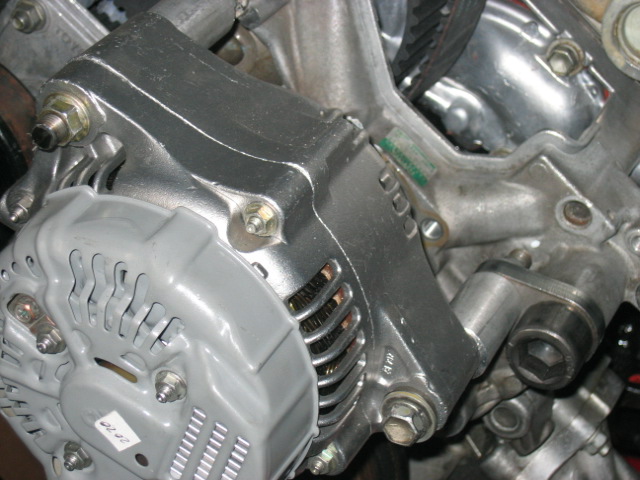
| Another look at the alternator. |
|
|
|
|
|
 |
|
|
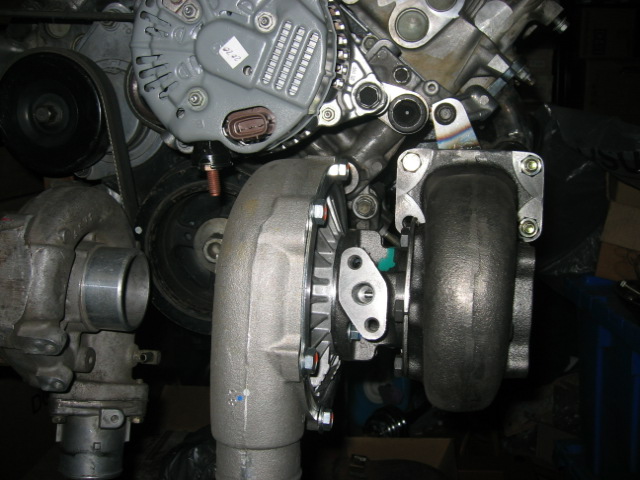
| Alot more room comparing to the next picture. |
|
|
|
|
|
 |
|
|
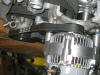
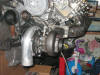
| Here is the up right mounting. Do you see how close the turbo to the alternator? |
|
|
|
|
|
|
|
|
Even if you don’t have to remove the hydraulic pulley I suggest you should. Replacing the hydraulic pump is very expensive and the less you have the less potential problem you might have to face.
Here is a comparison between the two setups:
Up Right Mount: Upside Down Mount:

This modification will work on all Lexus-Toyota V8 engines. However, to properly fit the mounting bracket you need a dead (not working is fine) hydraulic pump housing. You don’t need a function hydraulic pump. All you need is the housing. I hope you enjoy this tutorial. If you have any important questions, please feel free to contact me. Have fun and enjoy your ride.
David


Before you all go trying this like I did there are a few things to be aware of that ‘david’ the d*ckface didn’t mention. First, that’s not a 1uz, it looks like one but it it’s not. Also the the bolt hole in which the bottom of the alternator is mounted doesnt seem to exist. Probably Photoshop if you look closely at the top of the photos it would seem like to me. Thanks bud now I have to reassemble my motor and start from scratch all bc I was convinced this was actually relevant to us sc400 owners…