The following article explains the process I went through to make an adaptor to join my manual transmission to my 1UZ-FE. As part of my conversion I wanted to retain the Rover 5 speed transmission and 4×4 transfer case.
One problem this conversion raised was the Rover bell housing was 30mm (1.5″) larger in diameter than the Toyota bell housing. As no commercially available adaptor is made for this conversion I was forced to have one made or make one myself. I opted to have a go and see what happened.
I decided to use 10mm (3/8″) steel, I could have used 20mm (3/4″) alloy but space was at a premium and I needed every mm I could get.
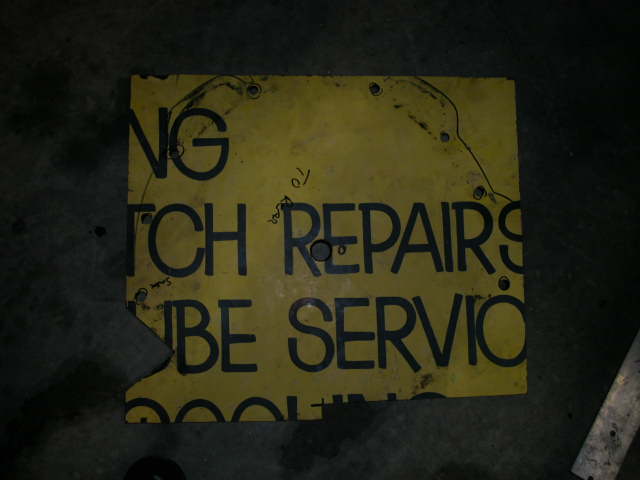
I cut two squares out of 10mm hardboard (you use MDF but hardboard is stronger) and drilled a hole in one to be a tight fit on the center spigot of the torque converter on the Toyota transmission. The other hole was made to fit the Rover transmission. These became my templates.
I clamped the hardboard to the front of the transmission and drilled all the holes I would need to bolt the adaptor to the transmission. I marked which transmission it belonged to on each template plus which side of the template was the front.
At this point I had two templates. One had the bell housing bolt pattern of the Toyota and the other the Rover.
I then place the templates together (using the center spigot to ensure they were aligned) and then drilled all the Toyota holes through the Rover template.
I reversed the process so I ended up with two templates with all the holes in the correct place. This gave me a spare should one be lost or damaged down the track.
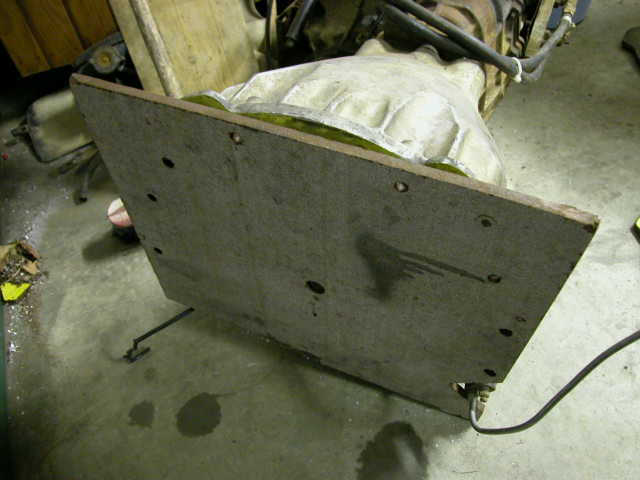
One of the templates was bolted up to the engine to ensure it lined up and all the bolts would clear each other.
Once I was happy I had it right I then scribed the outline of the Rover bell housing on the template. Using a jigsaw I cut the template to the required shape. I then removed the middle of the template to allow the ring gear on the back of my flywheel to fit inside the adaptor.
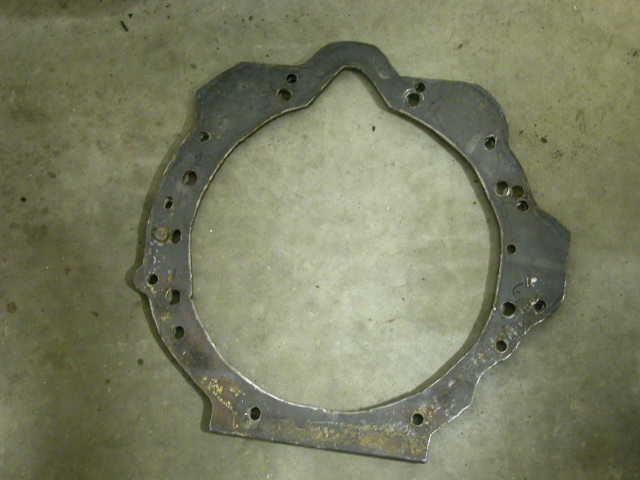
I had the local steel merchant cut the adaptor using the template as a sample. Cost AU$70.00.
Once home the adaptor was tidied up with the grinder to get rid of some rough edges.
The template was then clamped to the adaptor and the holes drilled through the plate using the template as a guide.
At this point you need to remember the holes that will join the adaptor to the transmission must be drilled smaller than the holes in the template to allow them to me tapped for mounting bolts.
Once all the holes are drilled and tapped it was time for a trial fit. Give the adaptor a coat of paint to make it look pretty and you are done. Everything looks fine so it is time to assemble the flywheel (it must go on after the adaptor in this swap), clutch and put it all in the car. With luck it all works. The secret here is to think before you cut/drill. Whilst the tolerances you are working with are quite small it is not critical to be within 10thou of an inch. This project took me around 10 hours to do.
For a total cost of AU$70.00 (plus the paint I had hanging around) and an investment of 10 hours of work I have an adaptor that is strong, works and I did it myself. Had I owned an oxy-acetylene set I could have cut the steel myself and have the satisfaction of having made it all myself.
If you have any questions, please email Rod for more details [email protected]