UPDATE: A limited supply of the original best-selling Lextreme
1UZFE EGR Delete Kit remains. If you own a 1UZ from 1990-1997, you
really need to get this kit! Email me at
[email protected] for help with ordering or questions. This will probably be the last kits I have made.
All other parts are SOLD OUT and won't return, including the LS400 and SC400 turbo kit, rebuild kits, supercharger and performace torque converter. We're not an auto parts supplier and I can't respond to inquries for random Lexus and Toyota auto parts.
LEXTREME LEXUS FORUMS HERE! - Post Questions For Quick Answers!
This Fuel Pump Upgrade DIY tutorial applies to 1990, 1991, 1992, 1993 and 1994 Lexus LS400 models.
After running my car at 8 psi and achieved 324.5 rwhp. This is pretty much the stock fuel pump can produced. Its time to upgrade to a larger fuel pump. Since the Lexus LS/SC400 does not have much choice, I managed to find a Walbro Fuel Pump. This fuel pump will support at least 550 rwhp. That will be plenty for the Lexus V8 cars. This pump would work best with an after market fuel pressure regulator like the Aeromotive FPR. This is a high pressure fuel pump providing 255 liter/hour. Since I am selling it in my site, I better install every product I sell.
The whole process takes about 45 minutes with few basic tools. Here are some pictures with descriptions on the process.
Before you start, make sure to disconnect the battery and do not smoke while you are working with fuel.
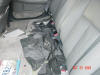 |
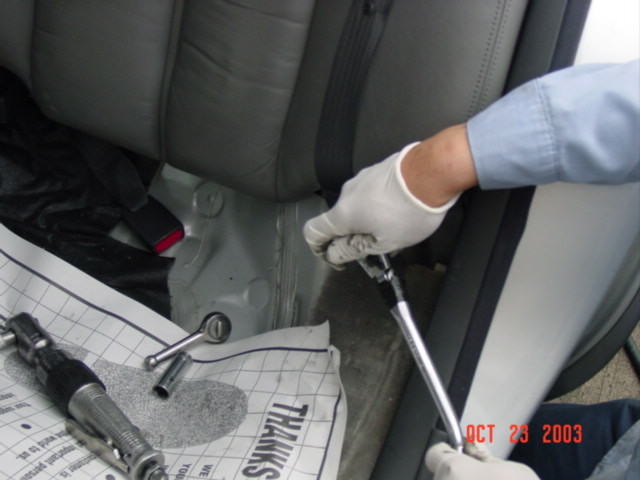
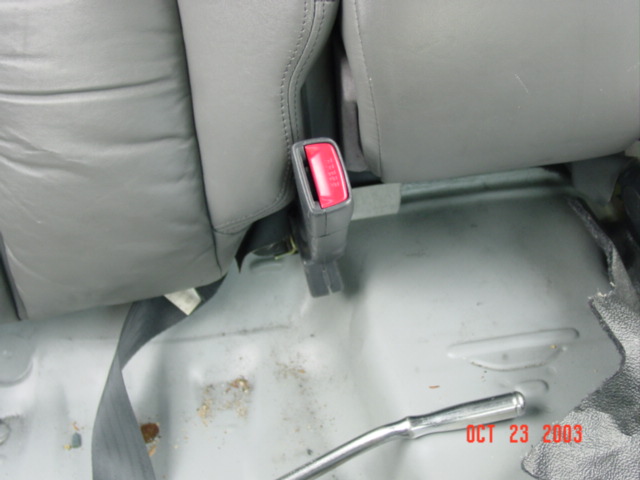
| The first thing is to remove the back seat. There are two spring locks at the lower front of the seat on both sides. Just your hands or a flat screw driver to get if open. |
 |
| After the rear seat is removed, there are 4-12 mm crews located near the seatbelt anchor. |
 |
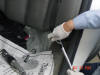
| The rear driver side screw is being loosen with basic tools. |
 |
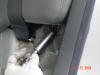
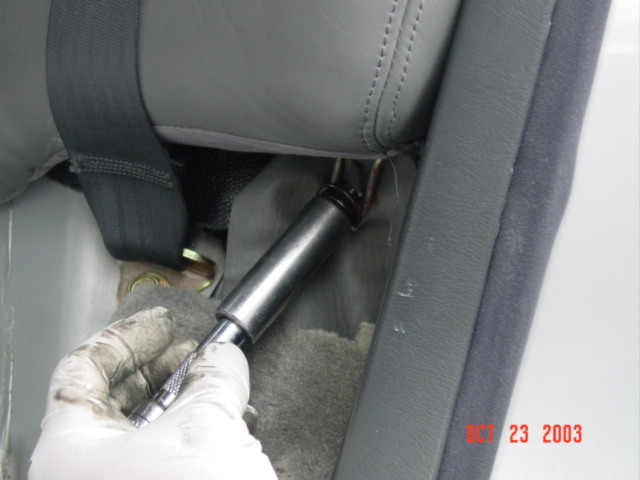
| You to use a 14 mm socket to loosen the seat belt anchor in the middle in order to get to the two screws in the middle. |
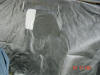 |
| This is how it look like after the back support is removed. Remember to push the back support into the trunk and lift it up. There are hooks like behind the back support. |
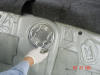 |
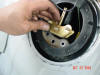
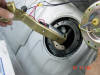
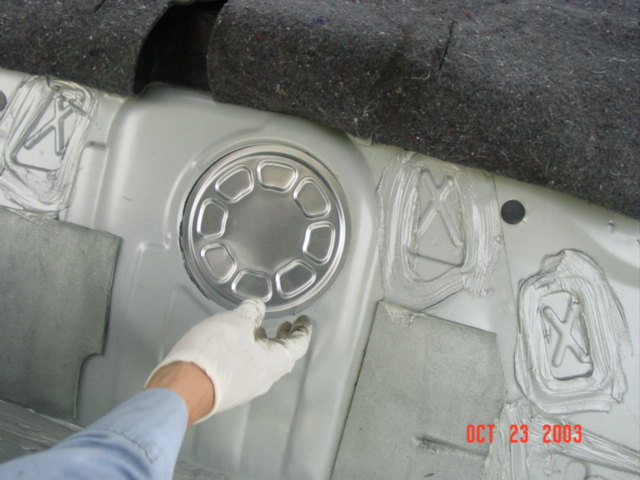
| After u flip over the black cover, you will see a round aluminum plate cover. Just use your hand to lift it up. |
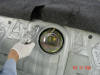 |
| After the cover is removed, there is the tank cover. Use 8mm socket to remove the tank cover. |
 |
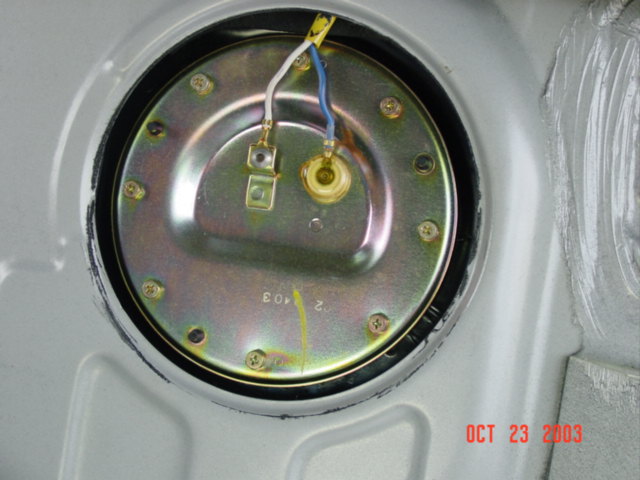
| This is a closer view of the tank cover. Remember to disconnect the battery before doing this mod. |
 |
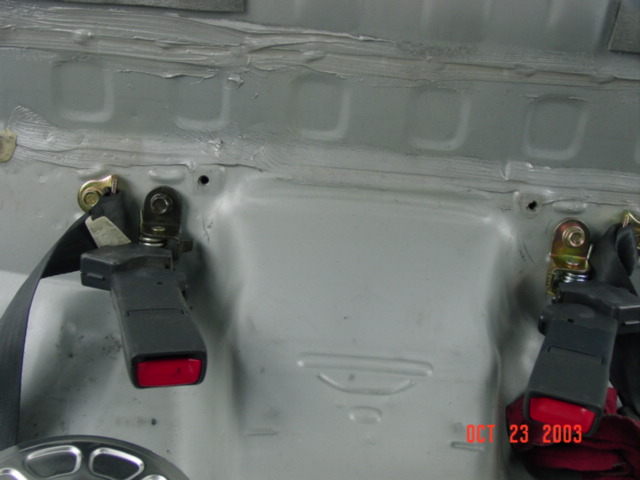
| Here are the two screws in the middle for anchoring the back support. |
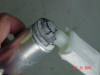 |
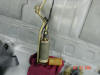
| This is how the new fuel pump looks like. Everything is just plug and play. Very simple you almost don’t need instruction. |
 |
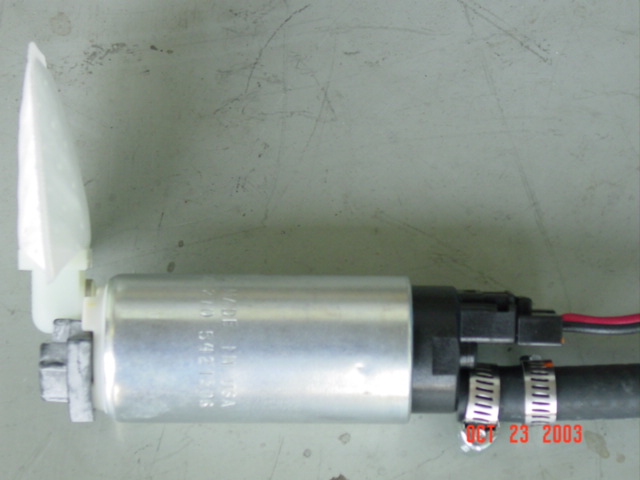
| The is the view of the Walbro fuel pump with wires and attachments. Everything you need in a kit. |
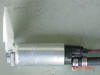 |
| Complete fuel pump with filter. |
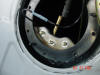 |
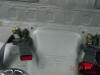
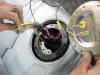
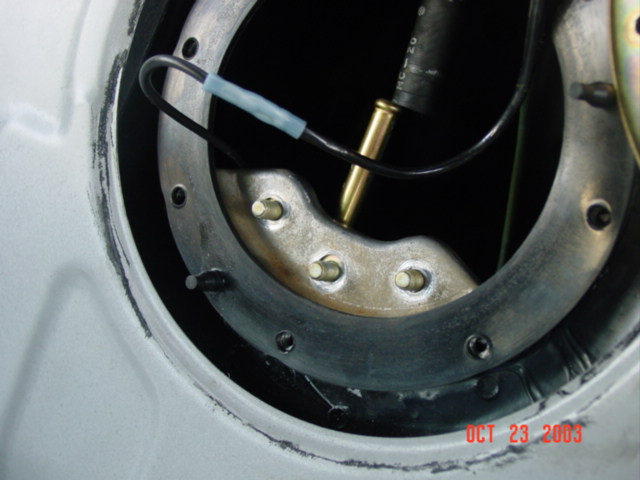
| Here are the 3 screws removed in order to take out the fuel pump. You also need to loosen the fuel line above too. |
 |
| This is the 3 screws loosen in order to take the fuel pump componants. |
 |
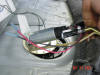
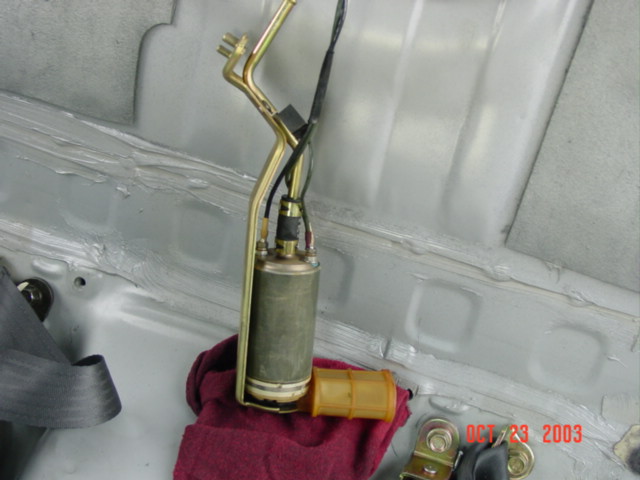
| This is the stock fuel pump removed. |
 |
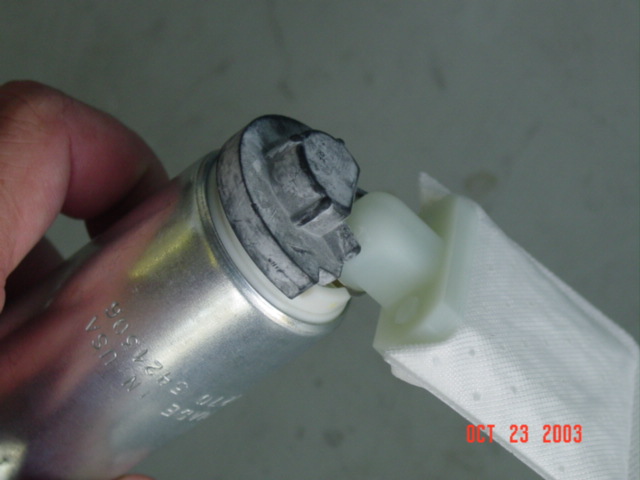
| A closer look at the OEM fuel pump. Use a 7mm and 8 mm to remove the wires or you can cut them. |
 |
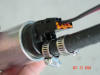
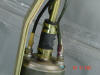
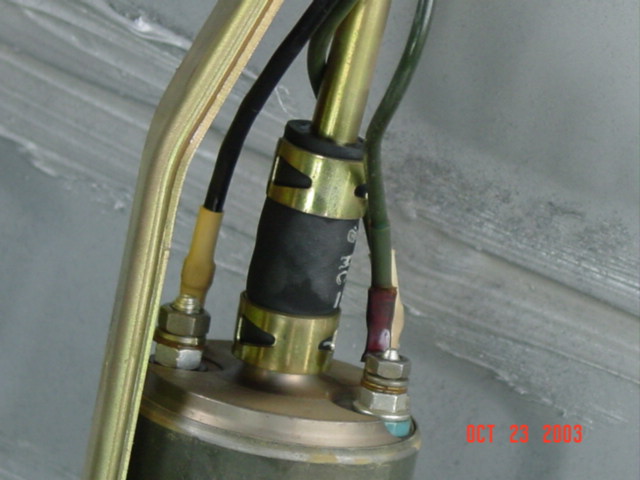
| This is the new and improve fuel pump with all the wires ready to be attached. Remember the OEM has 3 wires and Walbro has two. Two positive wires (dark green) connect to the red Walbro wire |
 |
| Its ready to be installed. |
 |
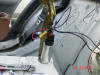
| Inserting in an angle without kinking it. |
 |
| Its inserted and everything looks good. |
This is a pretty simple mod. This is only require if you are running more
than 8 psi. Over all, I would say it was pretty fun and easy mod.
Good luck with the mod. If you need an upgrade fuel pump, please contact
me.
If you are interested in upgrading your stock fuel to a higher flow fuel pump please visit this page.
Sincerely,
David
If you find this site to be
resourceful, please click here!


Are these access to fuel pump instructions the same for a 96 lexus ls400 I just ordered my replacement online and looking to save myself some time before it arrives. I’ve always owned full sized trucks my whole life so owning a car and a foreign one at that has got me jumping threw hoops with everything I do. Any info helps original issue I had was while driving car sputtered out and upon trying to restart the engine it would fire but immediately die afterwards so after checking fuse/relays I’d assumed it’s the fuel pump. It was garage parked for few years before I purchased the vehicle but I figure it had to be the culprit. But once again any information is greatly appreciated.
This is a pretty simple mod. This is only require if you are running more
than 8 psi.
What is the square chip attached purpose for? the one single wire one that is tapped into the hot wire?