stevechumo
Active Member
- Messages
- 3,054
- Location
- OC, City of Sunshine
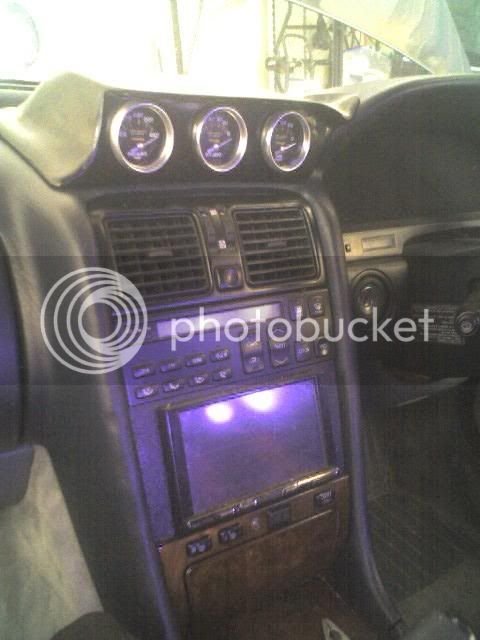
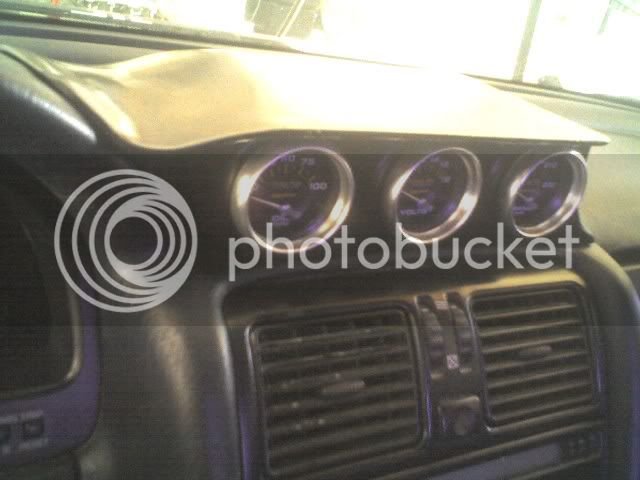
I like the roof of the pod. It sticks out and prevents the glare. How will you attach this pod to the dash? I don't see any screw holes.


suprab808-
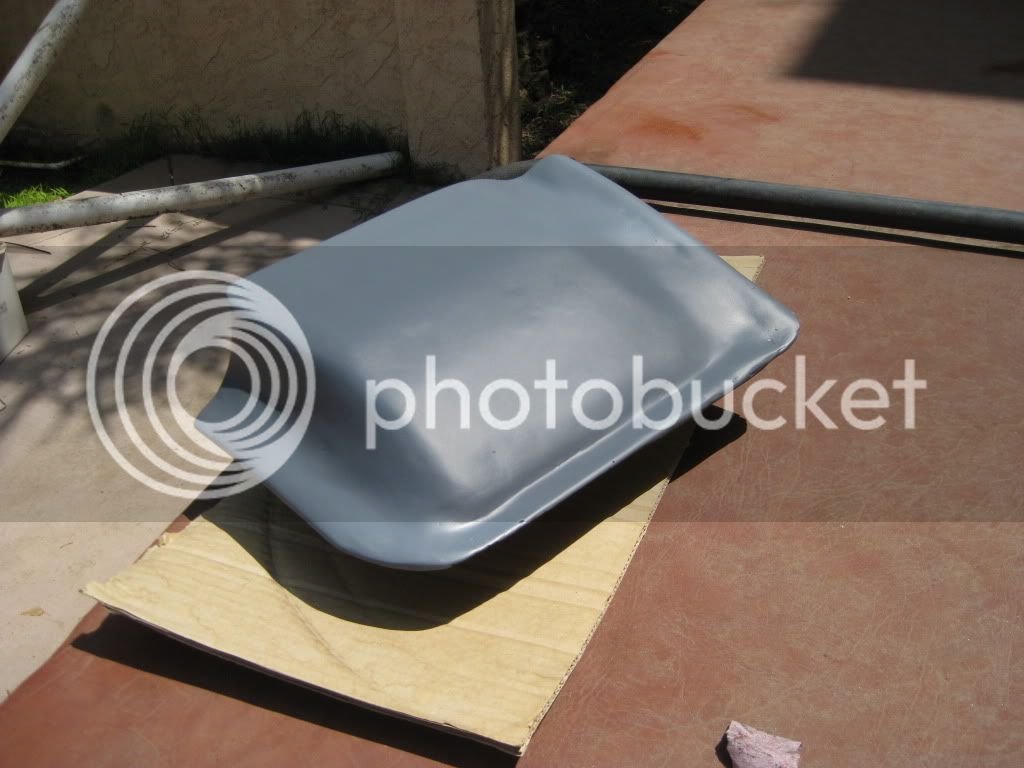
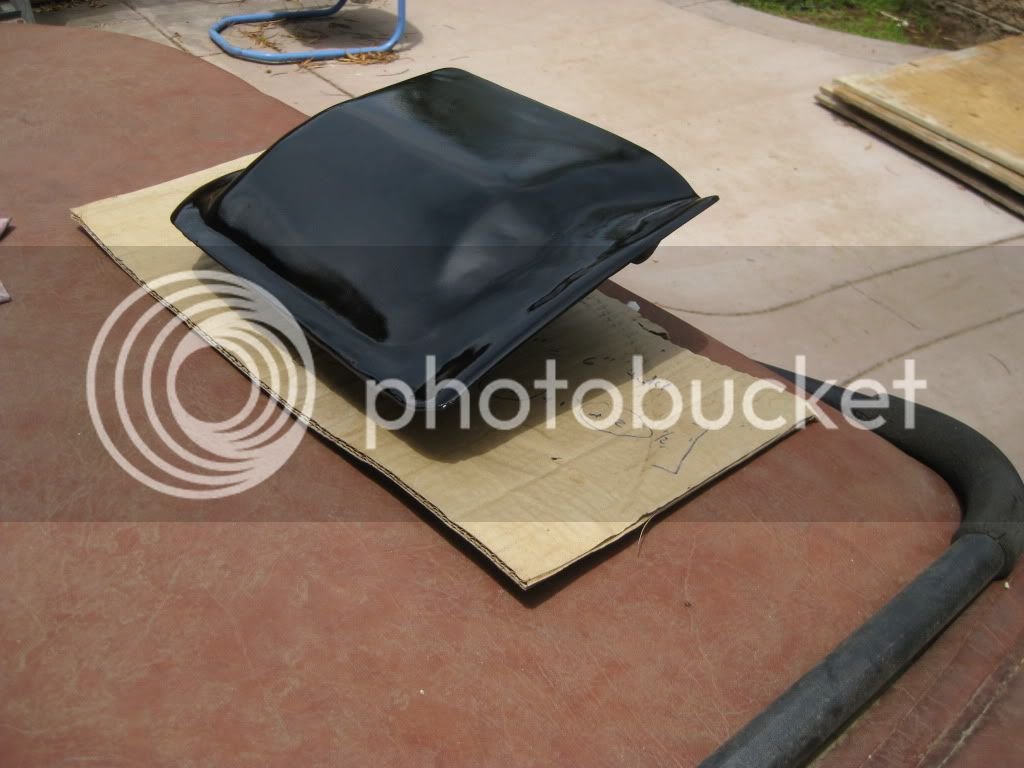
I took a blue recycle bin and sprayed part flat and another part gloss, I decided the gloss would look better. It was sort of a dilemma as part of the OEM setup looks flat black and other areas glossy... so I had to contrast before spraying. Just to get as many imperfections out before painting I ended up priming 3 layers and sanded, and primed a second time and sanded with a finishing layer on top. I should have gone through with 320-grit but the 150 managed fine, even replicates the OEM vinyl pretty close lol.
I am still waiting for the paint to dry but once it's ready to handle i'll snap some mounted to the dash. Thanx for the comments guys.