
How to Change Previa Front Rotors
When I got this van, the tires are still very new. However during downhill breaking, the whole van shake and vibrate when brake. From my personally, I knew it was the rotors. Especially the front rotors take most of the heat and load. Excessive brake will generate heat and heat will soften metals. Like all metal, the rotors are no exception. The warping of the rotors will cost vibration when brake. So, I told this task on and save around $600-100 on labor. I got some rotors from www.r1concepts.com and this company has all of your brake related parts need. If you need any rotors or brake related products, please contact Dan and tell him David from Toyo Vans refer you. I am sure he will take care of you.
Tool:
17 mm Wrench
19 mm Socket
Flat Screw Driver
Brake Expander
Supply:
Rotors
Pads if needed
Difficulty:
4/10
Time:
35-55 minutes
Depending on which model you have. You need to take out the center hubcap in order to get access to the wheel nuts. The wheel nuts are 19 mm. You can use the oem tire changing kit located under the passenger seat or you can just get a 19 mm socket. Needless to say, once the nuts are slightly loosen, then you should fully jack up the van to about 1" above the floor from the tire. Once the tire is off, you should see the rotor and caliper. In order to take out the rotor, you must take out the caliper first. This is the perfect time to change out the brake pads too.
To take out the caliper, there are two 17 mm screw right behind the caliper. The top one would be taken out with long handle 17 mm wrench or a short wrench with an extension. Once the top screw is loosen or out, now you can use either a 17 mm socket or wrench. I prefer a socket on this one. If you have difficulty getting them out, you should spray some WD-40 15 minutes before. The two screws are the only thing holding the caliper, so when they are out its time to take the caliper out. Once the caliper is out, the rotor will come right off.
The new rotor will slide right in and you will need to expand the pads slightly in order to the caliper to the new rotor. This can be accomplish by a brake caliper expander. This little tool will spread the brake pads apart. Once you get the pads apart then do everything in reserve and then you are set.
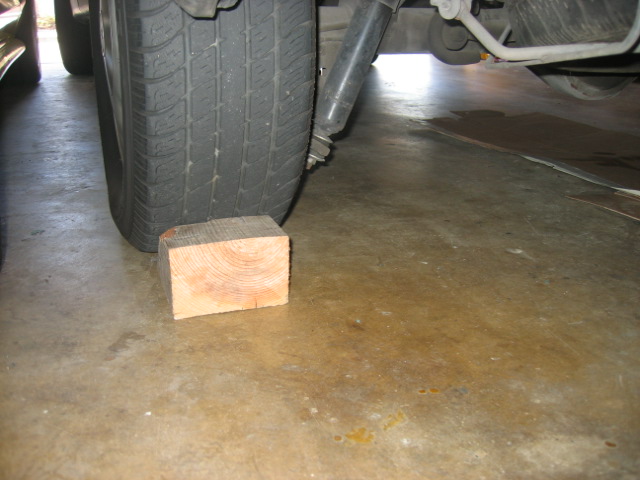
Use a aftermarket or home made block to block the driver side rear tire.
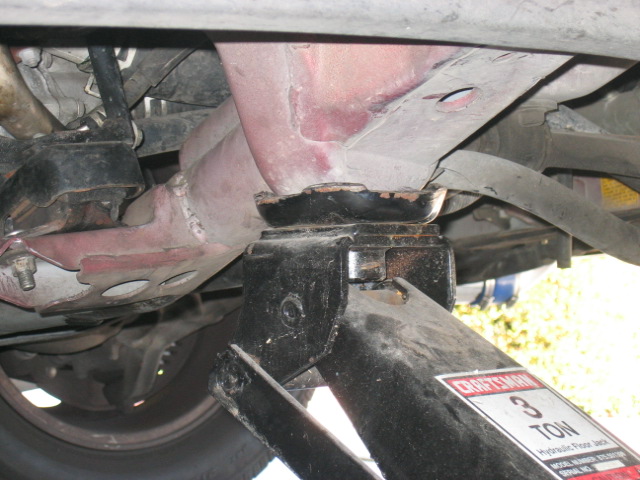
Use a the strong support beam for the jack contact.
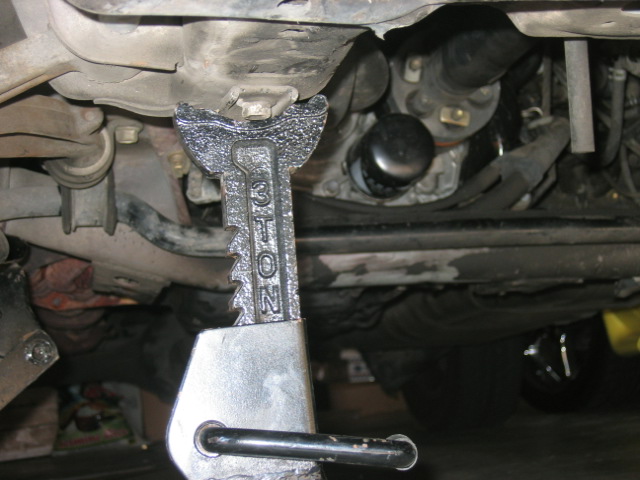
Use a secondary jack support for safety
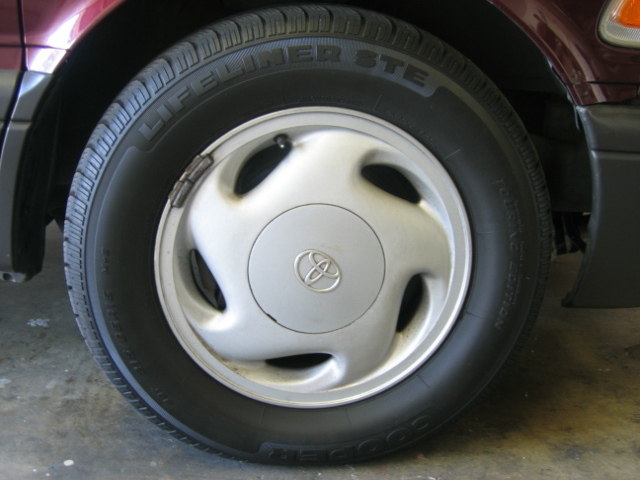
A view of a typical Previa wheel
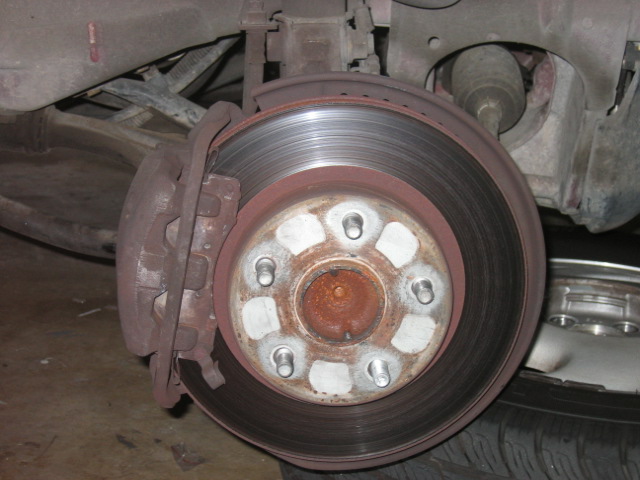
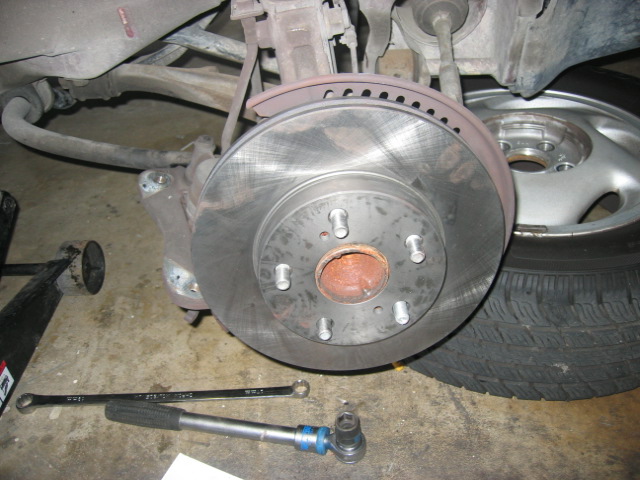
A view of the caliper and rotor with the tired removed
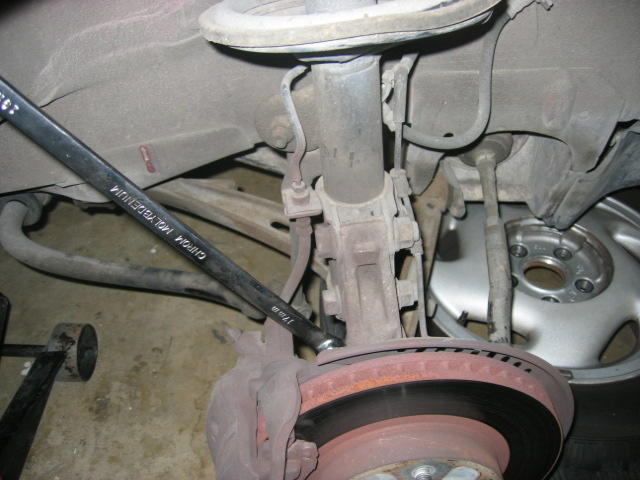
17 mm extended length wrench for the top bolt
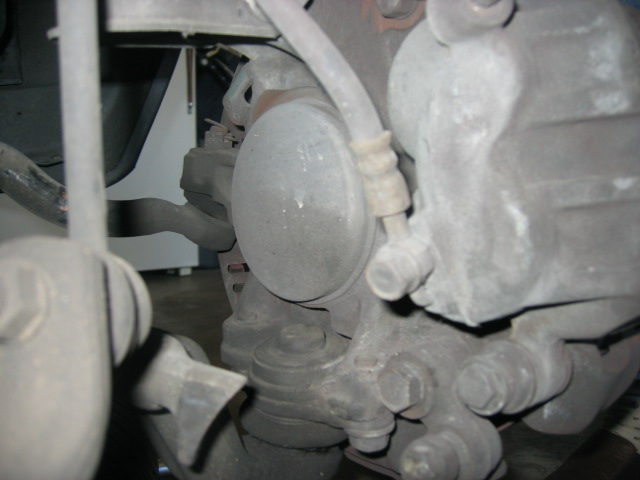
17 mm socket preferred for the bottom bolt
Caliper removed
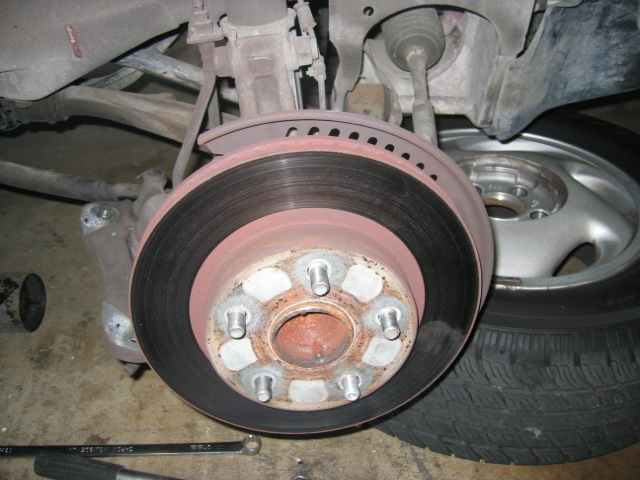
Old rotor will slide right out and replace with a new rotor
New rotor and caliper is back in functional stage.

We hope you enjoy this article and please feel free to join our forum to discuss more tutorials.